Construction of the RV10 Wings
Category Archives: Wings
Section 17 Section 18
Section – 17 & 18
December 6, 2011 – 08:42
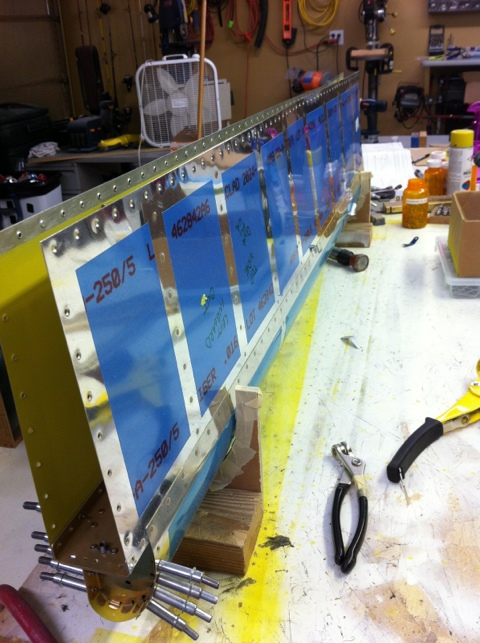
I started to mount the Right Fuel Tank and Right Leading Edge to the Right wing spar since I still need to mount the AOA in the Left Leading Edge. The right wing is taking shape slowly. I used anti-seize on the AN4704-x and AN509-8R8 fasteners.
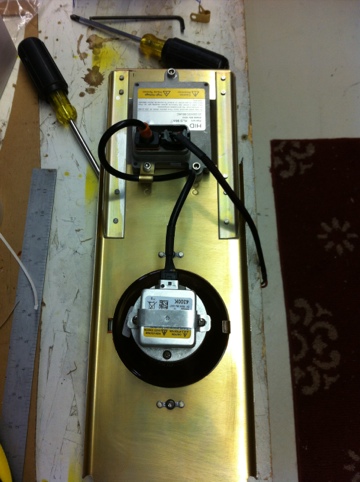
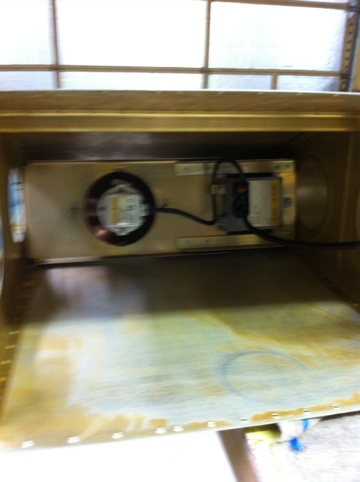
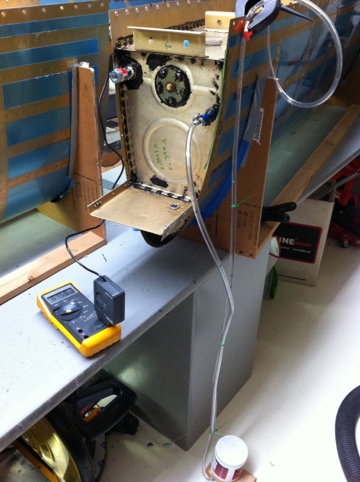
Section – 17, Adding HID Lights
December 5, 2011 – 17:54
I dove into cutting the leading edge light holes for the Duckworks HID lights. I had already, months prior started working on the mounting brackets. Cutting the lens holes was straight forward with no issues. I mounted the HID ballast and lamps to the mounting hardware and installed in the leading edge followed by the lens. (HID Xenon D1C, 4300k from eBay)
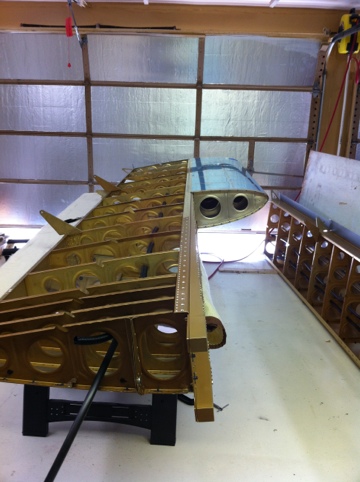
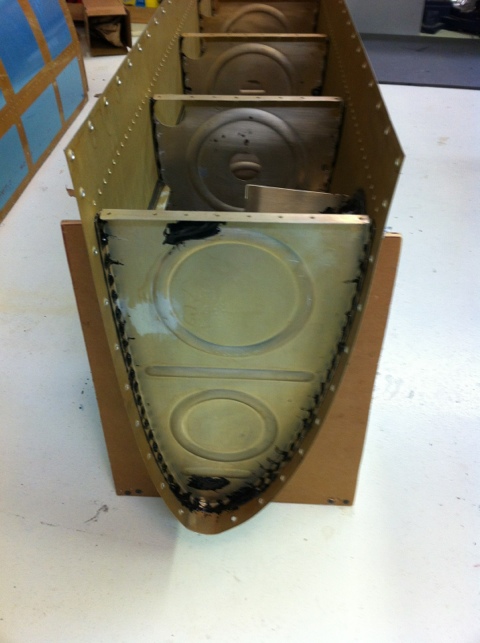
Section – 18, Tank Pressure Testing
December 5, 2011 – 17:32
Tested the fuel tanks a while back and have had the chance to update the page. Both tanks tested well with no leaks other than at the threads of the drain fitting. I carefully used Teflon tape for the test and removed all Teflon after the test. Both tanks were tested to 1 PSI using a home made manometer. A sigh of relief that both had no leaks after spraying soapy water and waiting for 24 hours watching the temp change to calculate the predicted water level change.
Section – 18, Fuel Tank conti.
November 12, 2011 – 20:42
Finished the left fuel tank today. It took more time than I thought, but after some messy hands I got it all sealed up. I installed the fuel tank float and torqued the fuel vent line B nut. I covered the vent line and fuel outlet with the finger tips cut out of some used gloves. The left tank for both left and right tanks is now setting aside to dry. I will work the right tank baffle on Sunday.. UPDATE.. Finished sealing the right fuel tank on Sunday, waiting for the sealant to dry on both tanks before testing for leaks.
Section – 18 Fuel Tanks conti-
November 7, 2011 – 11:57
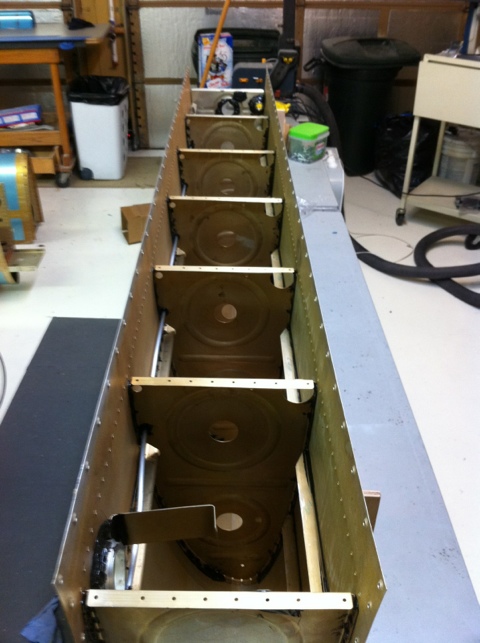
After completing the Ailerons, I decided to give the fuel tank sealant another try. I mixed the sealant then placed it into a ziplock bag and cut the tip end off the bag similar to how one might decorate a cake. This method worked fantastic and made the process much more manageable along with less waist of sealant.
I finished installing the ribs in the left tank along with installing the fuel vent line. On the right tank I was able to work all the ribs except the last rib that connects to the fuel vent line (T-1003B-R). I need to fabricate the right vent line first.

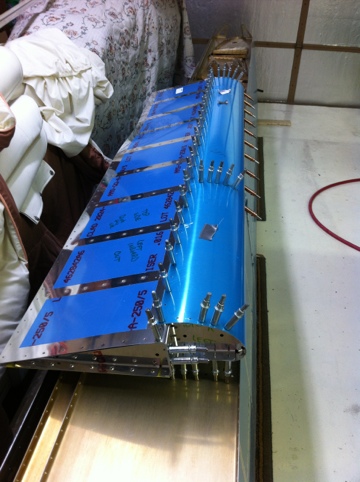
Section – 21 Ailerons
November 7, 2011 – 11:20
Finished working with the Ailerons by starting with Section 21-4 Step 1. Riveted all parts of the Ailerons together per Section 21-4, 21-5, 21-6, 21-7. Section 21-8 mounted the Aileron control hardware. I torqued the bolts/nuts and torque sealed the nuts.
Packed the left and right Ailerons away for safe storage.
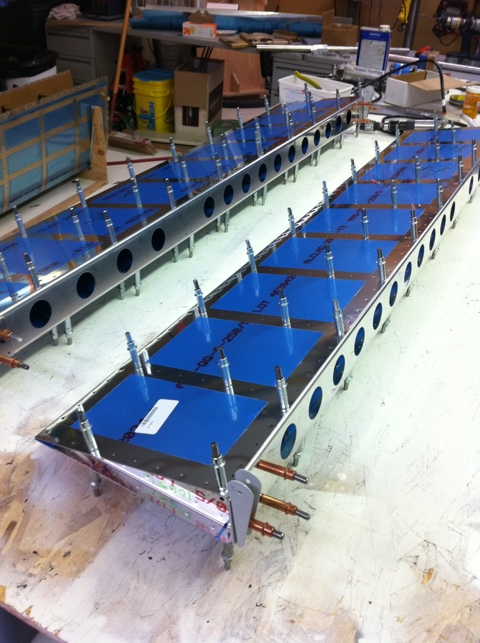
Section 21, Aileron
October 16, 2011 – 08:13
I started to work on the Ailerons since I needed another hand to help work the fuel tanks while using the tank sealant. Not much to write about but the pictures show the status. The aileron ribs have been treated and rivet to the skins. Left aileron is going back together for final drilling.
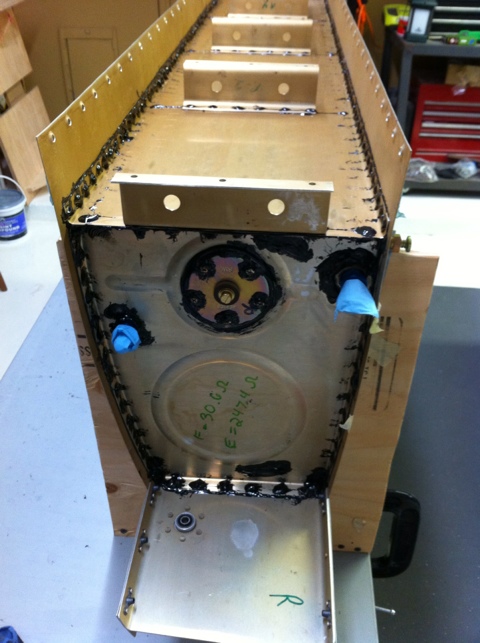
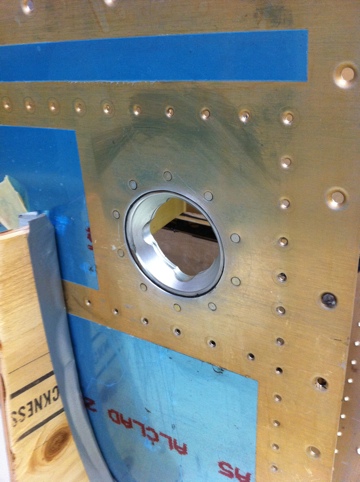
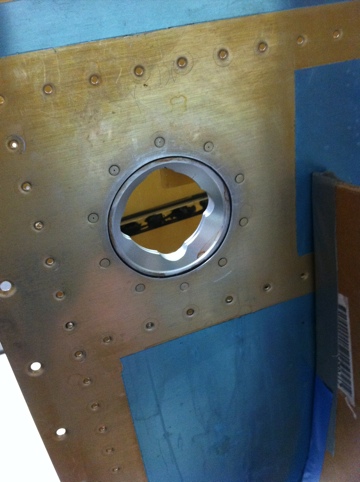
Section 18, Fill Cap Flange
September 28, 2011 – 17:58
More T-1011 Stiffeners attached to the tank skins. Attached the Fuel Tank Flange and T-1008 Vent Cap along with fuel tank fulling tabs. On our Piper Arrow we had fuel tank tabs and wanted the same on the RV10. The tabs work well when wanting to limit or even balance fuel quantity.
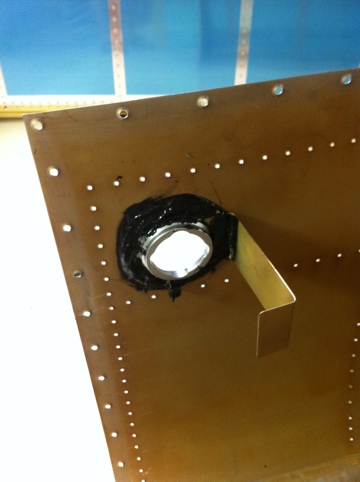
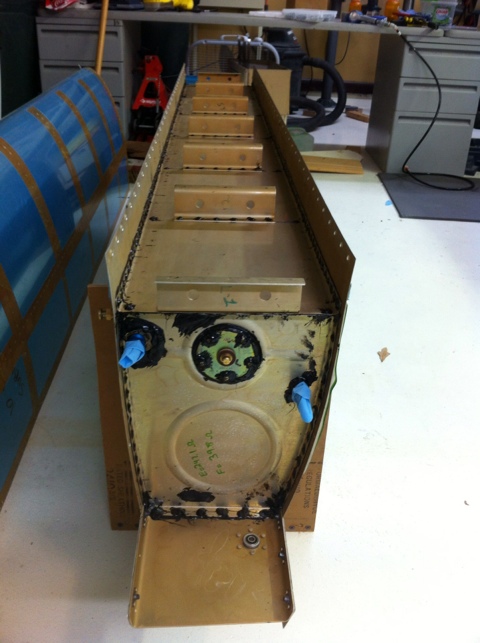
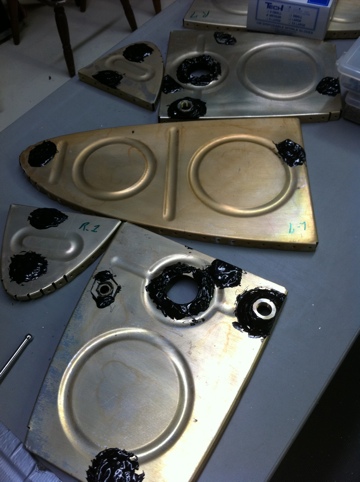
Section 18, Aft Inboard Tank Rib Sub-assembly
September 25, 2011 – 19:45
Fuel Tank Sealant – was the topic of the day. Started attaching the VA-141 Finger Strainer Flange, T-1010 Anti-Rotation Plate and nut plates along with various small plates used for sealing the holes in the end ribs used for holding formblocks in proper alignment during hydropress forming of the ribs. Ever piece attached needed too have the fuel tank sealant applied between the parts and the riveted in place. The T-1011 Stiffeners and VA-112 Drain Flange were also riveted onto the wing tank skins with the fuel tank sealant between the pieces.
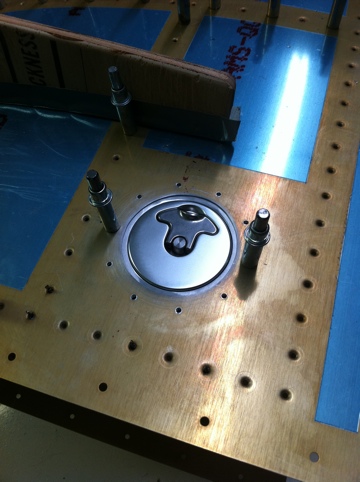
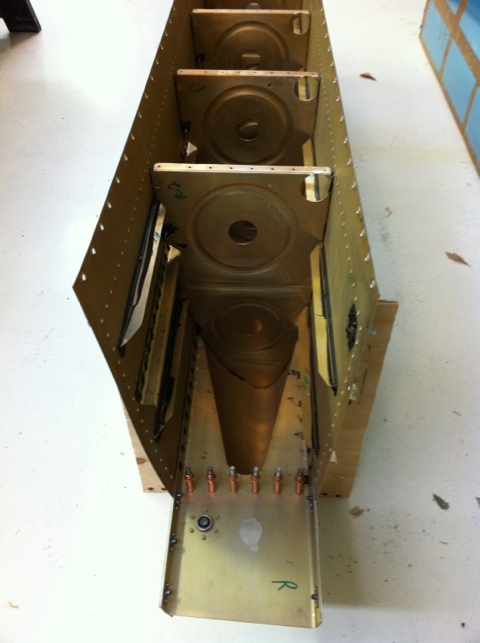
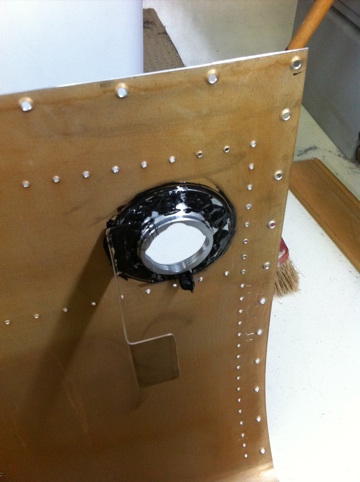
Section 18, Fuel Tank Cap
September 25, 2011 – 19:32
Saturday 24th, fitted gas cap and flange to the left and right fuel tank. Machine countersunk fuel tank cap flanges and dimpled the fuel sank skin. I decided to do more flutting to the fuel tank ribs because I wasn’t satisfied with the way the were aligning with the dimple fuel tank skin holes. The VA-146 bearing and upper and lower shim (T-1005B, T-1005C) on the T-1005-L were riveted into place.