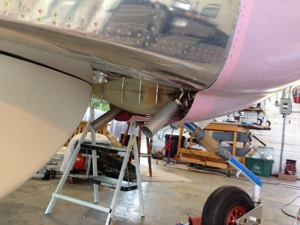
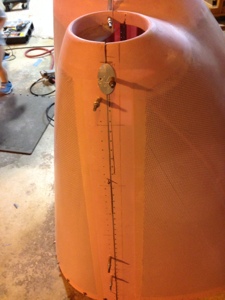
2 hours, 18 June 14
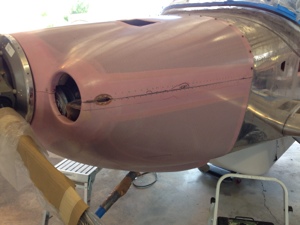
I worked on the Show Planes cowl cut out for the right intake tube. Added more fiberglass cloth and epoxy.
2 hours, 18 June 14
I worked on the Show Planes cowl cut out for the right intake tube. Added more fiberglass cloth and epoxy.
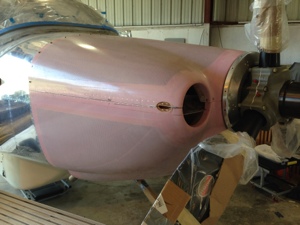
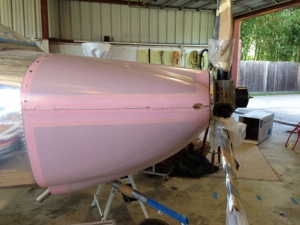
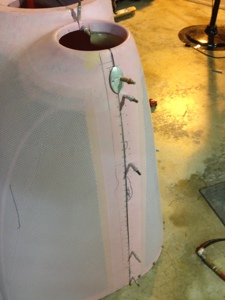
2 hours, 17 June 2014
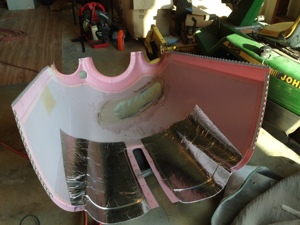
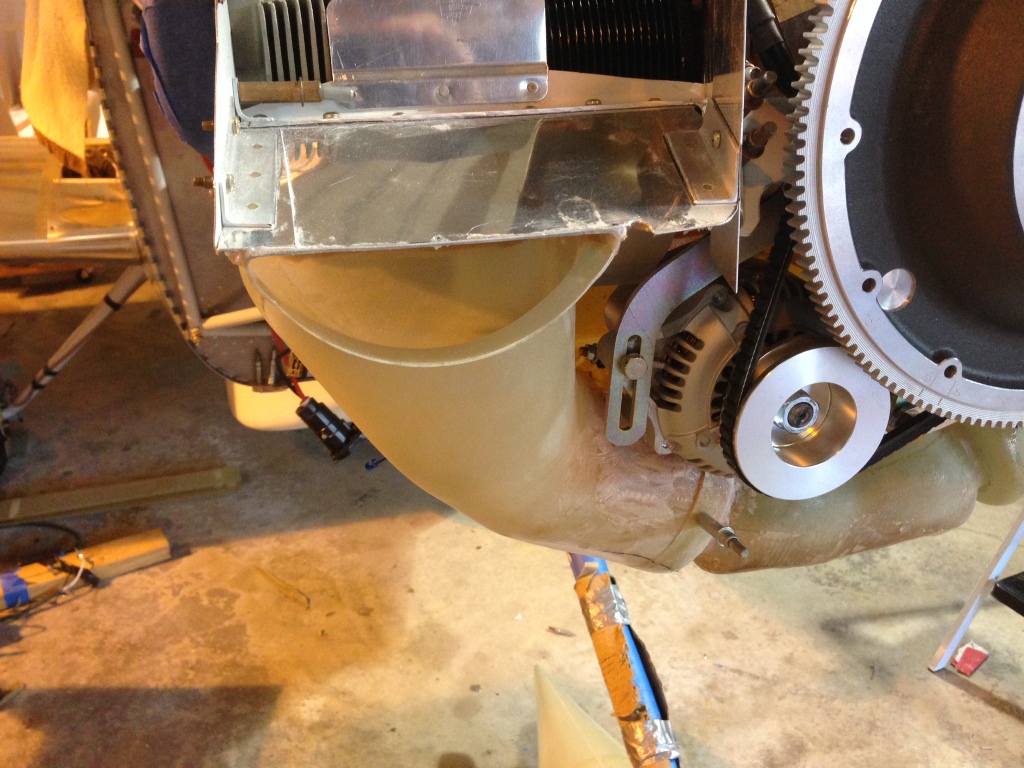
I spent 2 hours marking, cutting and fiberglassing the bottom of the show planes cowling to add more clearance to the right side air intake. After the first engine run sessions the engine shifted enough that the clearance between the cowl and intake was no longer enough.
2 hours, 1 June 2014
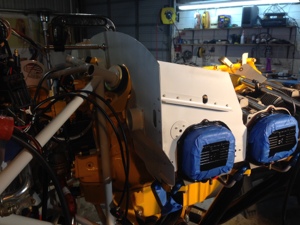
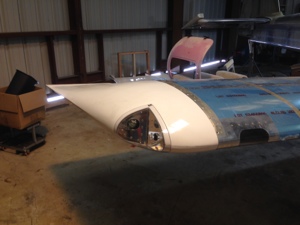
I put the upper and lower cowling on the airplane. This is the first time both halves have been put together on the airplane. Both cowl halves went together surprising well. I had to trim a couple of pieces off the engine baffling to help fit the cowl better. I also final trimmed the two horizontal cowl hinge pins.
I noticed the AC compressor clutch is interfering with the front left side of the cowling. SO I trimmed out the cowling and added a bump out to the accommodate the AC clutch.
May 09, 2014, 8 hours
Today I concentrated on the side hinge attachment for the upper and lower cowling. Also cut out the area where the Aerosport “RV10” emblem goes to cover the pin access location. Over all the process went well but had a slight over sanding of one area where “daylight” is seen through the cowl hinge slots. I will correct this issue later on. Riveted the hinge half’s to the cowl half’s and shortened the hinge pins. The cowling should be at a stage where it can be attached to the airframe but I have not done so since I am still working on the engine.
April 1, 2014, 2 hours
More inlet cowl work to be had…. Rough fit the pilot side induction cowl after trimming it for the AC Compressor.
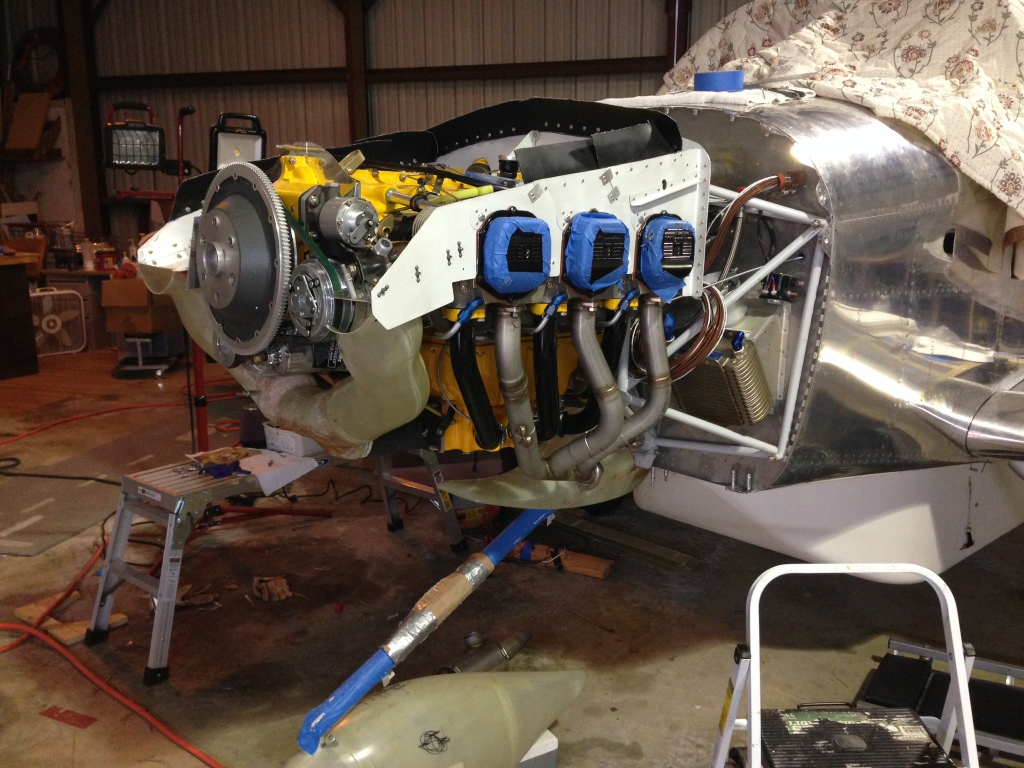
I installed the new Vetterrman Exhaust that Client built up for me in an amazing short time. 1 week! Install went great.
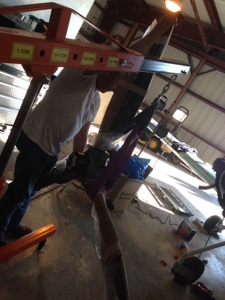
Feb 28th – March 7, 150 hours.
This is the week my folks came up to welcome home Brooklyn. My dad understood what needed to be accomplished and went straight to work. He didn’t need much direction so I was able to spend time with my wife, son and new daughter before pressing on with the build. My wife REALLY wants her husband back and my parents completely understand that getting this RV10 finished will help my family.
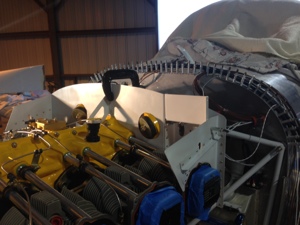
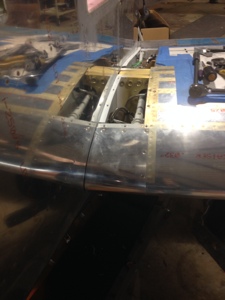
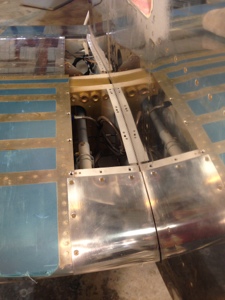
My dad worked on baffling over the engine, I painted parts of it as he completed the first steps of the assembly process. We soon found at that we needed the cowling installed before we could cut the baffling down to size. We also started to realize how much modification and change from the plans the air conditioning system was going to drive for the baffling and cowling.
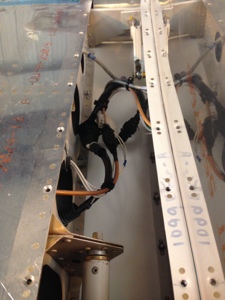
I worked on the preparing the wings for the final bolts to be installed. I messaged the wing to fuselage fairings for several hours getting them to fit properly. We then pulled the drift pins and installed the final bolts to hold on the wings. I had place a call into Vans because the bolts were bottoming out on the thread and the nut was being torqued against the shaft of the bolt. Vans advised use to add washers as needed. We did this to the NAS1309-58 bolts and still had many threads left on the bolt after nut was torqued. The NAS1306-58 bolts added also but only a single thread was left after properly torqued. I did order in “L” washers in case these needed to be changed. Flaps were final fitted and installed and rigged. Ailerons were removed to allow the removal of the blue protective covering and then reinstalled and torqued. I spent some time on balancing the control sticks and push rods for the ailerons. After some time i was able to get the ailerons and flaps aligned.
I attached the right wing tip to the wing and as I had hoped the wing tip aligned very nicely with the aileron.
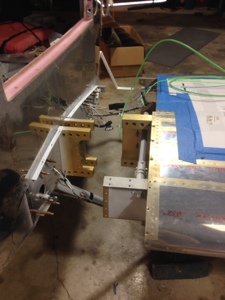
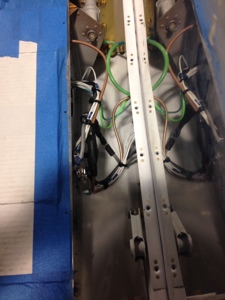
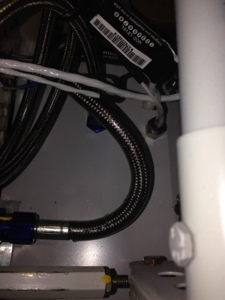
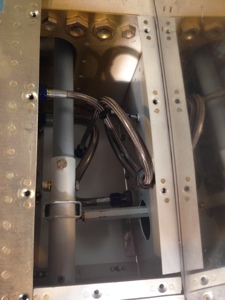
My dad worked on the motoPod when he came upon questions for me when I wasn’t around, so he was very busy most all the time. He was able to rig the motoPod with all the cables and pulleys. The only thing still remaining is some cover plates need to be fastened to the pod. He even was able to attach it to the aircraft and operate it up an down.
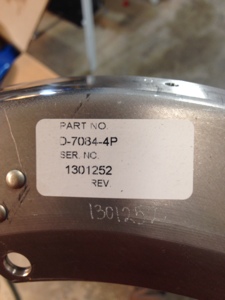
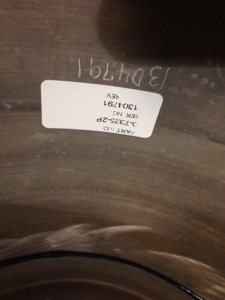
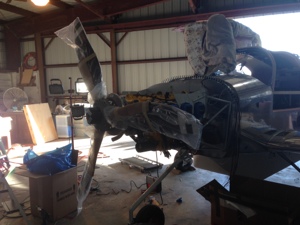
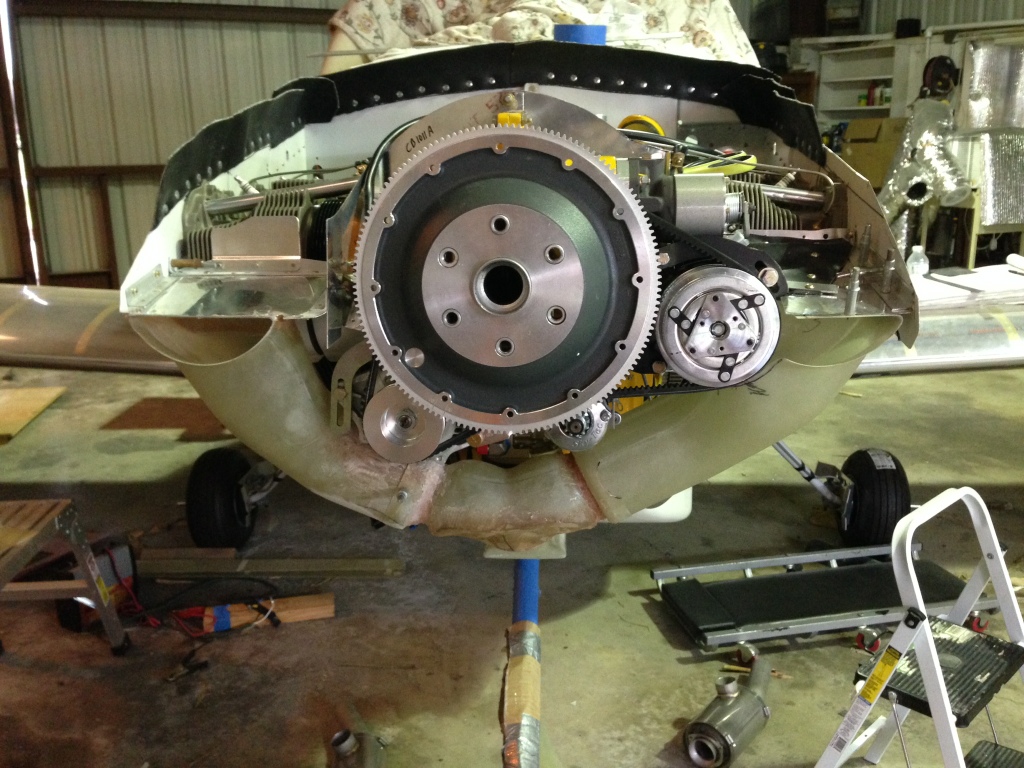
Prior to the cowl work, I un boxed the prop for this first time. I attached the back plate of the spinner to the prop per the Hartzell instructions. I decided to place only one washer aft of the spinner plate and two washer forward. This way if I have and issue with clearance after the cowl is attached I can always move washers for and aft to make the spinner clearance work better. We hund the prop and only snug fit the bolts for inital cowl work.
One of the last things my dad and I did before my folks left for South Texas to return home was to attempt attaching the cowling. I am using the new Show Planes cowling and we are supposed to use the standard vans instructions to install it. Some of those instructions are applicable so I applied the ones I thought were needed and then used pictures of other peoples Show Planes cowling being installed. We were able to get the cowl on and trimmed to a rough fit. The rough fit is nearly perfect. I am now dealing with figuring out how I want to attach it to the aircraft. The cowling has a pressure relief cowling around the landing gear and so this still needs to be fitted since the cowling will be fastened to this inner cowling as well. We still have th induction intake and filters to install. The AC Compressor is throwing a HUGE wrench into how this part is installed since the compressor is in the same space the induction air inlet left side ramp is.