2 hours, 8 June 201 4
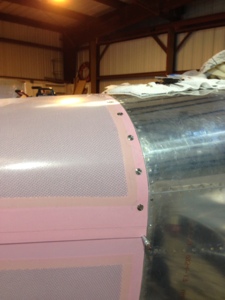
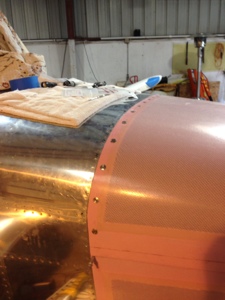
My dad mounted the return air cowling attachment for the Show Planes cowling. I had previously only has it cleco’d in place. He used rivnuts on the bottom side and attached the return air cowling.
2 hours, 8 June 201 4
My dad mounted the return air cowling attachment for the Show Planes cowling. I had previously only has it cleco’d in place. He used rivnuts on the bottom side and attached the return air cowling.
March 30, 2014, 10 hours
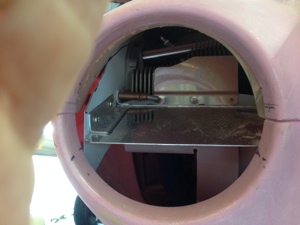
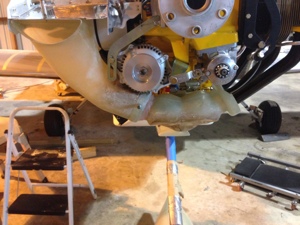
Much time was spent on figuring out how I wanted to handle the Show Planes inlet intake and the AC Compressor being located ALL in ONE place. I modified the inlet snorkel by cutting down the side interfering with the AC Compressor. Once I had those pieces fitted I moved on to handling the ramp that sits above the inlet snorkel for the fuel servo. I decided I would use as much aluminum as I could and then use the rubber baffle material to close in the area that I could not easily cover with the aluminum over the AC Compressor.
I added some support to the baffle material that runs around the prop servo and up towards the top of the engine case to help support the removable of the modular piece that is required to be attached to the inlet snorkel. This was needed since the inlet snorkel has to be removable for servicing of the air filters.
March 24, 2014, 1 hour
I worked on fiberglass for the right side cowl induction of the ShowPlanes cowling. I then moved to the oil door and started to trim it down to size.
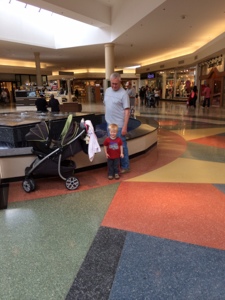
I did have a little help 🙂
March 17th to 23rd, 120 hours
My dad and I mostly worked on the baffles and cowling top and lower halves. What a surprise this was to me since I had thought this was going to be much easier than it is.
My dad started working on the MotoPod, exchanging two plates that were incorrectly supplied to us. He placed the cable covers on and lubed the cables just prior to closing it all up. He then moved on to pulling off all the blue protective tape on the wings that had been there since we received the parts.
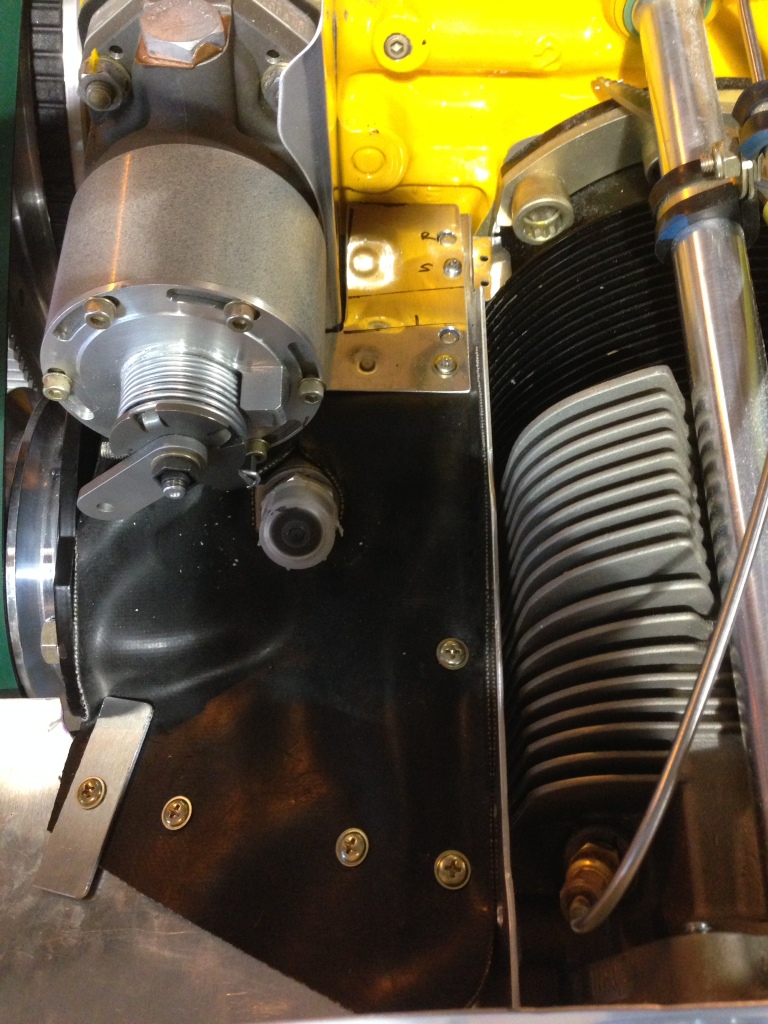
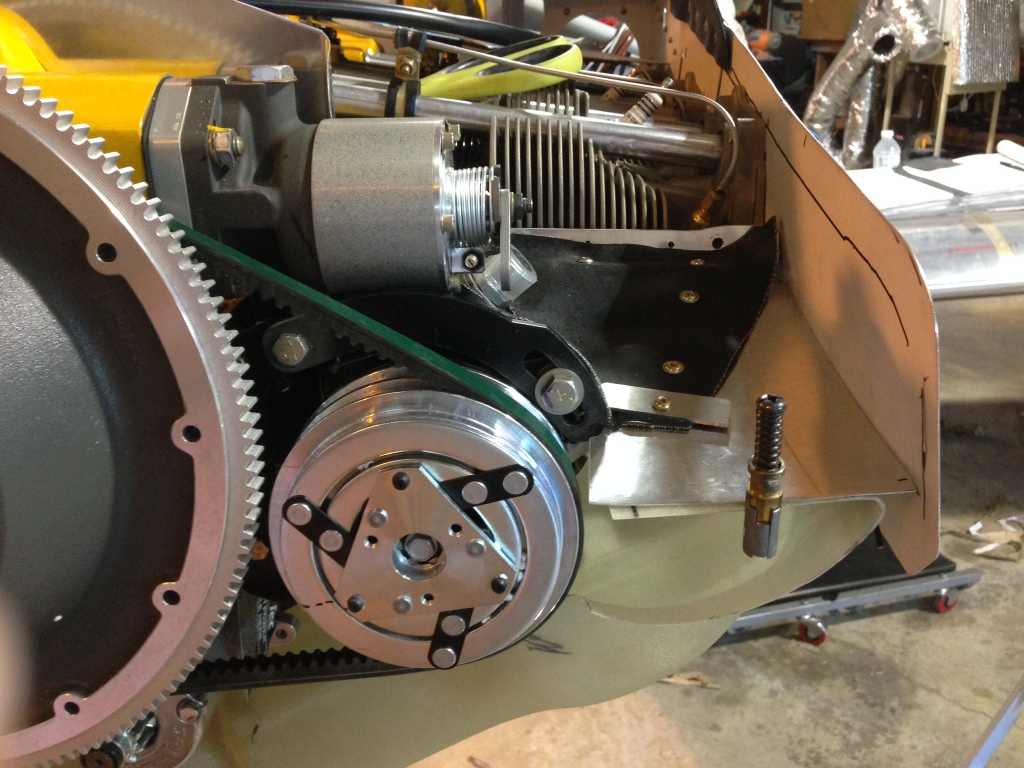
We then both started working on the top and bottom cowl halves since it was easer to work using two people. I had purchased SkyBolts for the top firewall half and drilled the final mounting holes in the cowling. Sadly I realized after it was to late that I had not properly positioned the cowling so I had to fiberglass the holes back full and start over again. The Show Planes cowl is a great product and easy to work with and is easy customizable. It was required that I grind off several places where the Skybolts back plates mount so they would set properly. While I was working on cutting the cowling my dad started installing the Plane Power Alternator, 70 AMP. He then moved over to installing the AC Compressor. He looped the drive belts around the ring gear and alternator but could not get them around the AC Compressor. It was later realized the AC Compressor that we had (Alpha I believe) had a larger pulley on it than what is currently shipping from FlightLine AC. Flightline promptly shipped a new compressor out to me. Sadly we could not mount the compressor so we could further work on the left side of the cowling air inlet ramps.
I started concentrating on the right side air inlet ramps. With the ShowPlanes cowl there is a special inlet scoop that comes from the left and right side down to the engine fuel servo. I though the right side would be easy….. well not really… but I am figuring out how it should have been thus making it much easier than how I was going about fitting it all. I figured it out how I wanted to make the inlet ramp for cooling air and engine induction air should be the only issue was how to hold all the movable parts together long enough to get an idea how it wants to be all attached. With everything in place and the bottom cowl on it makes for a rather tight fit. The instructions call for about 1/8″ clearance for engine movement. This seemed a little small so I increased the space and thus am having to rework fiberglass.
Meanwhile my dad was attaching the baffle rubber material as we had a good lower and upper cowl fitment and repeatability for mounting it all. The bottom cowl was attached using the hinge method on the side with one screw fastener on each bottom firewall point. The tope cowl got the Skybolts as mentioned above. And the lower inner portion that wraps around the landing gear had the pressure recovery mold attached to the airplane bottom with clecos and screw fasteners. This all created a good secure cowl for finishing the air inlet ramps.
Overall we had a good work week but we certainly have much more to get done before we are finished with the cowl and baffles.