Construction of the RV10 Wings
Category Archives: Wings
Section – 24 Wing Tip mounting and wire stuff
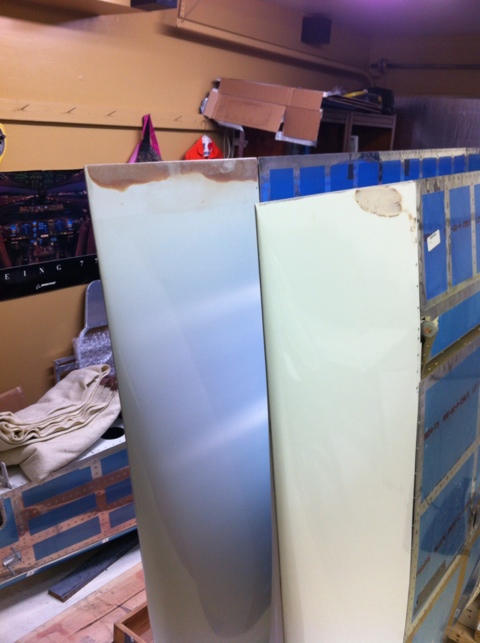
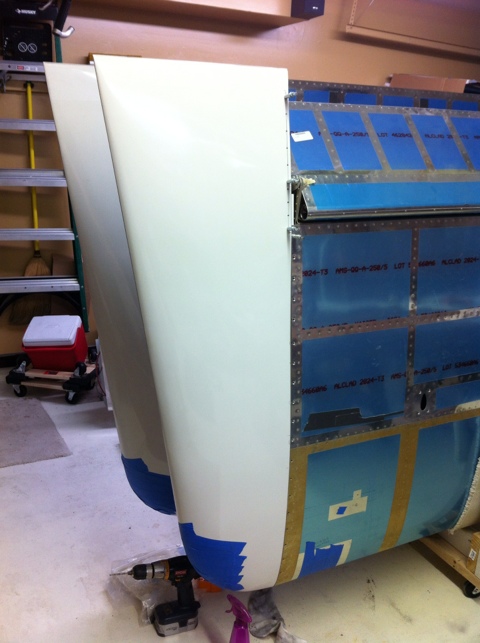
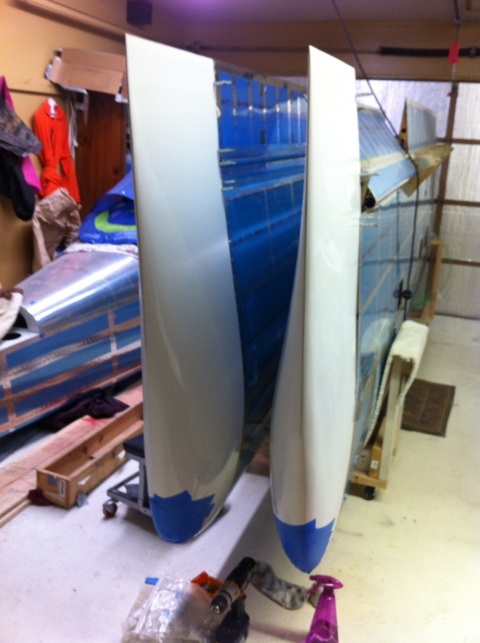
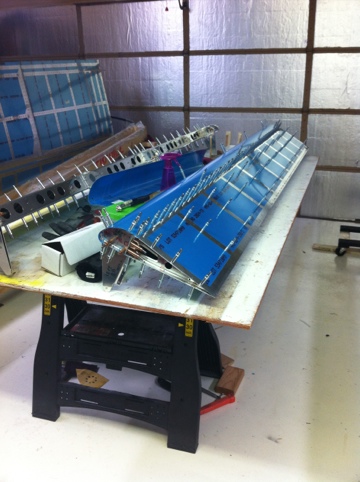
The wing tips are coming along nicely, I have them fitted and have been working on shortening the aft portion of the wingtip since the extended 3/8 inch beyond the rest of the wing. When I mounted the W-1016-L/R I should have paid closer attention to the racking going on in the wing tip. This caused the aft end of the wing tip to be offset slightly from the aileron and so I had to build up or remove material to make the transitions flow better. Lesson learned.
Section – 24 Wing Tip
Friday 23rd, started working on mounting the wing tips to the wings. Process was straight forward once the wing tips were marked up from trimming. A couple small trimming adjustments and the wing tips fit nicely. Drilled the mounting holes and machine dimpled them to except #6 screw along with dimpling the wing skins. The trailing edge of the wings tips are approximately 3/8″ to long. I have trimmed off the extra and am now adding fiberglass structure back to the wing tips since the joint at the end of the wing tip needs to be rebuilt.
The lights and lens was already mounted to the wingtip last christmas so they will be finished once the fiberglass work is done. I will also start working on mounting wire connections for the wing tips very soon.
Section -20, Bottom Wing Skin
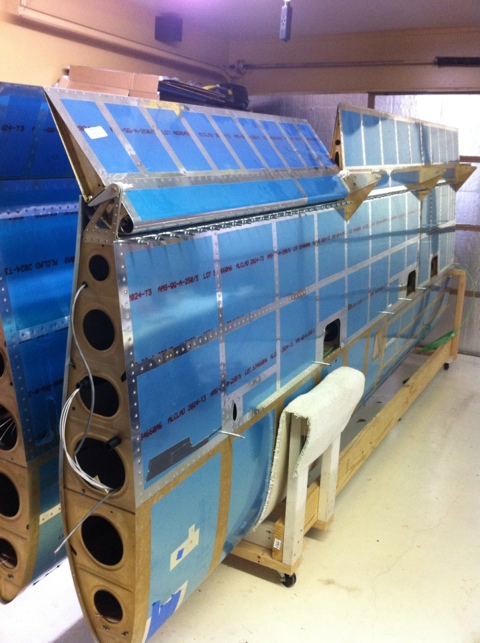
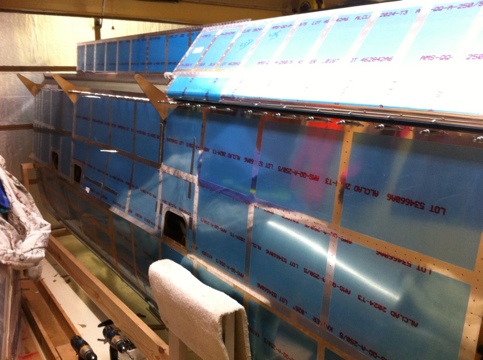
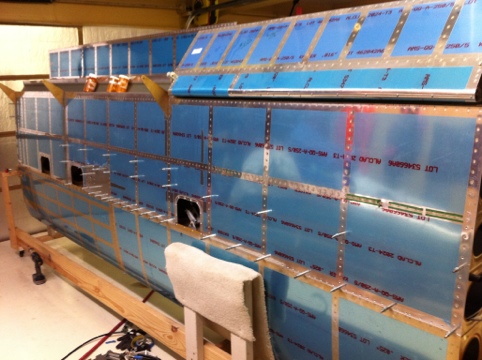
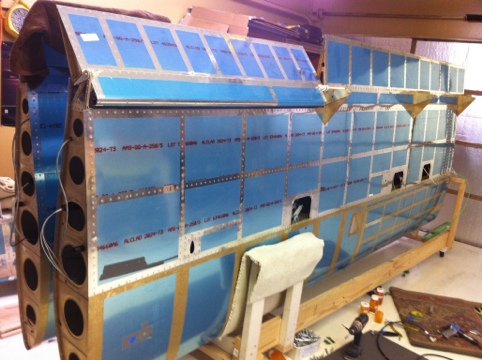
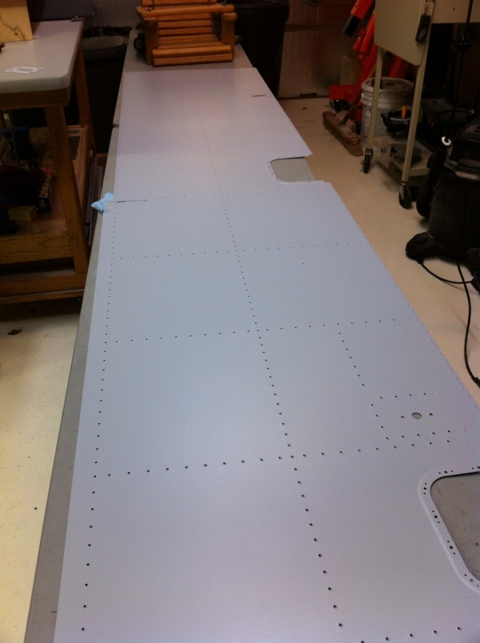
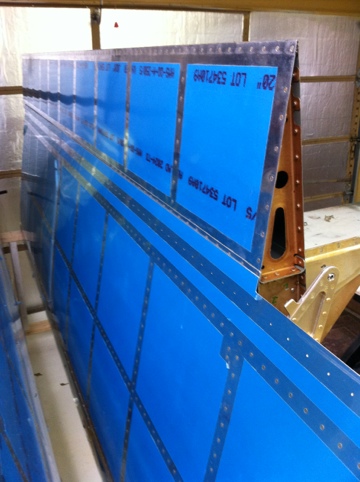
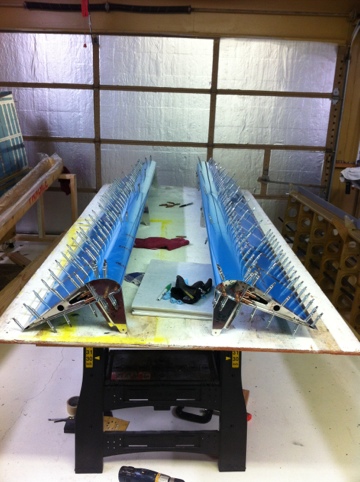
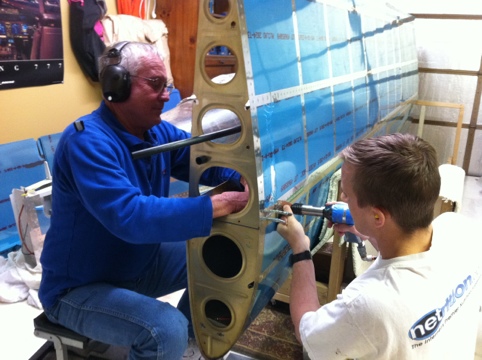
March 10-11 my parents came to town for a weekend visit. This allowed my father and I some time to make noise pounding rivets on the bottom wing skins. On Saturday we worked a solid 10 hours on the right wing and on Sunday we worked another solid 10 hours on the left wing. Both wings where finished by end of Sunday late evening. On to the wing tips.
Section – 20, Wires, Lights, Pitot Tube, VHF Antenna, etc
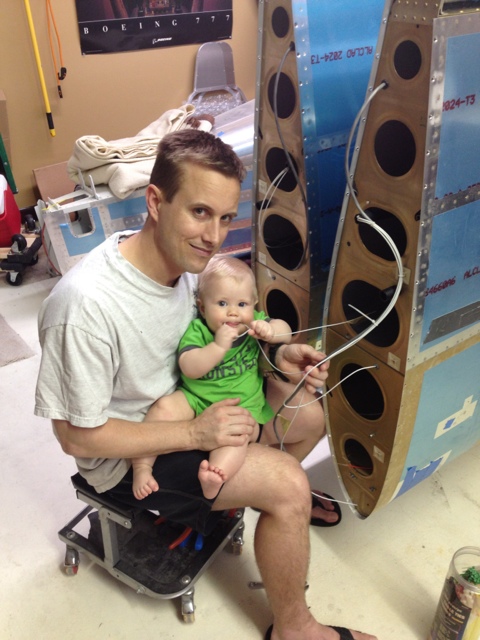
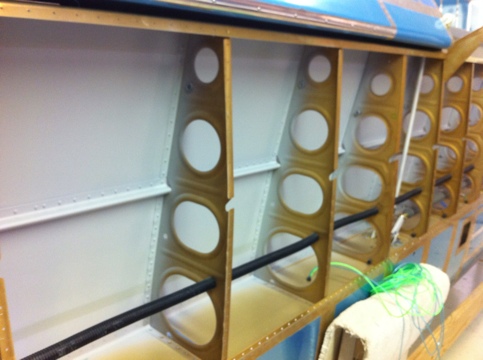
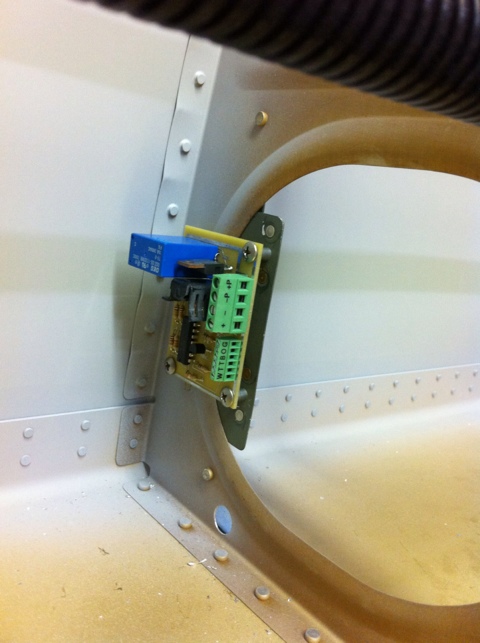
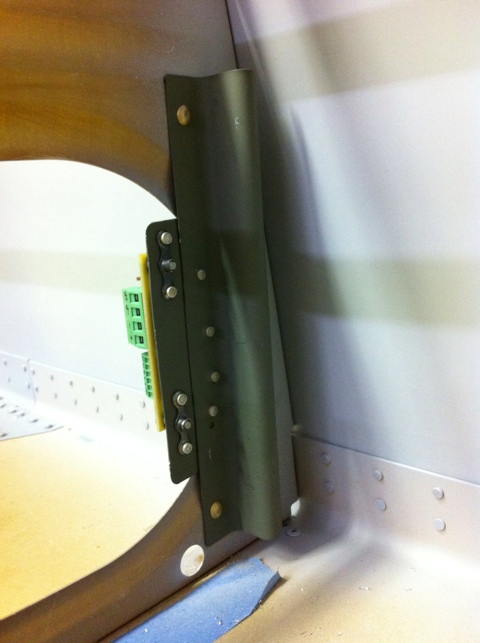
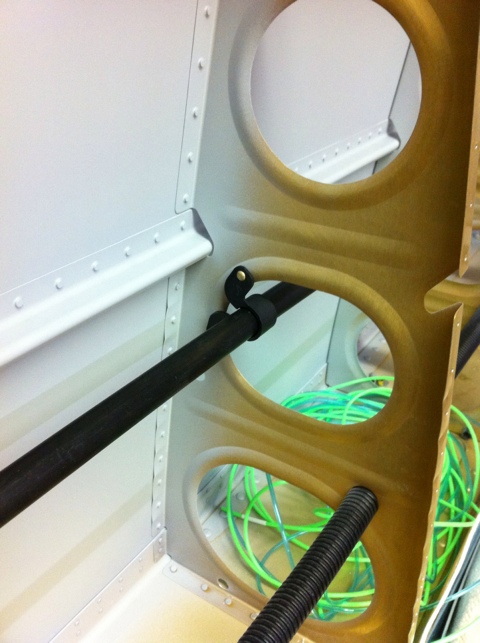
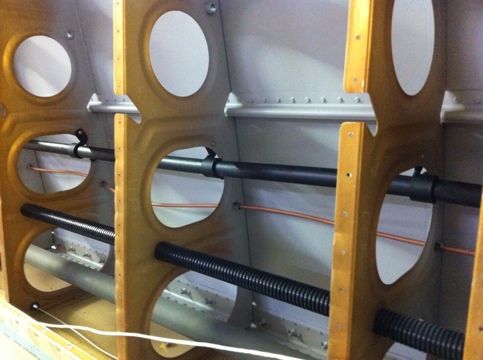
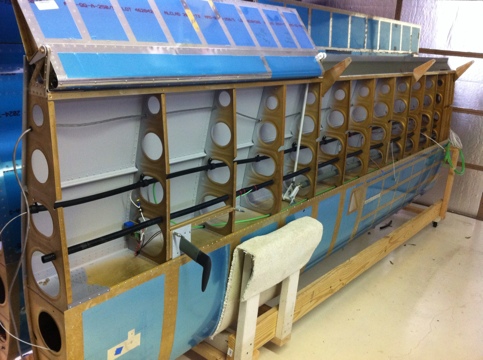
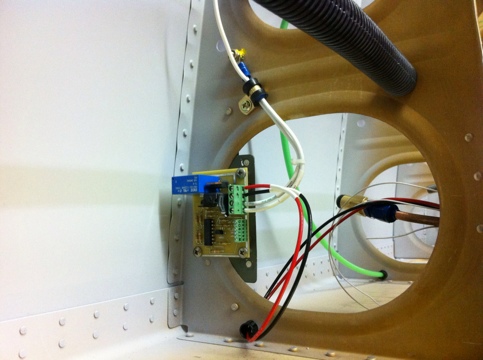
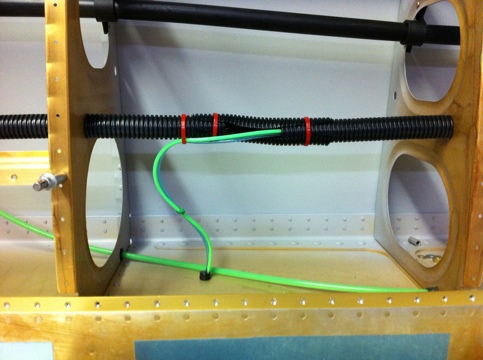
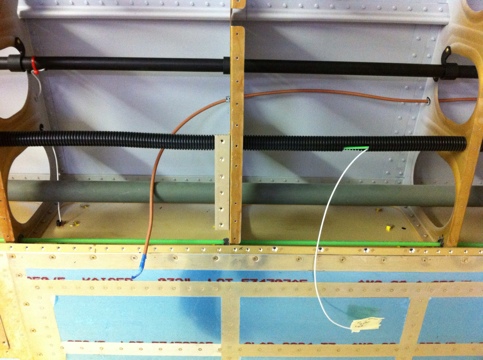
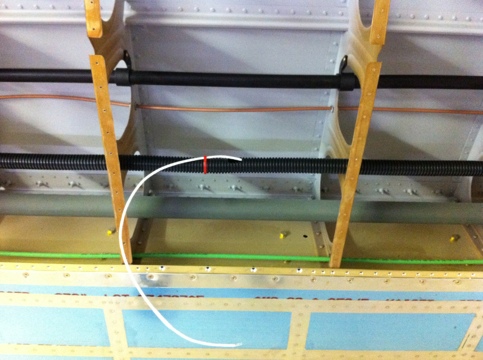
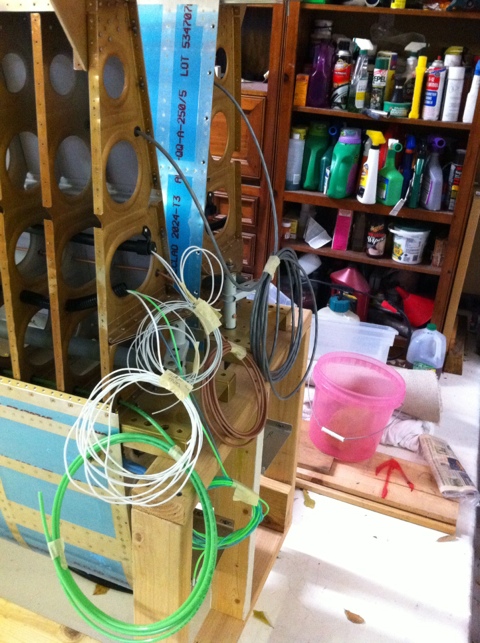
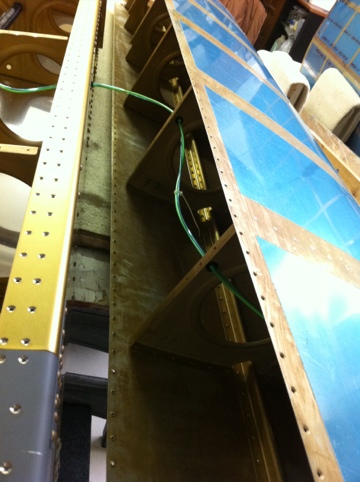
After painting the underside of the top wing skin I started to attach the second wire run. I then started to route the wires for the leading edge wing landing lights, position lights, wing tip landing lights, pitot tube, tie down light, aileron trim and strobe lights all in the left wing. Mounting the Gretz pitot control board was also accomplished. I started to work on the right wing with attaching the second wire run but ran out of time.
Some time was spent painting the bottom wing skin after I matched drilled and dimpled the skin in the prior days.
Section – 20 Bottom Skin, Pitot Tube, VHF Antenna
I have been incredible busy at work requiring lots of travel thus causing time away from home. My time away from my wife and 5.5 month old is taking its toll on them and I. We have all tried to push thru this busy time and make the best of it so the RV10 building has slowed. This is likely ok since the fuselage is 3 months from being delivered. Plenty of time to finish the wings.
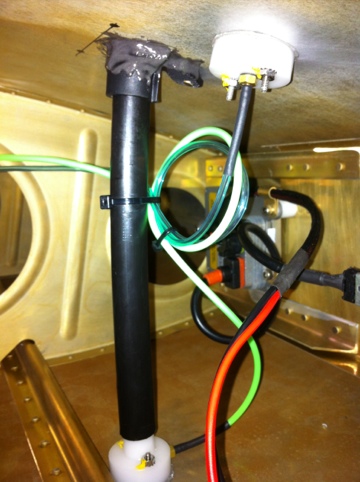
Some work has been done on the left wing for installing the Gretz pitot tube mast and supporting structure. I have added a little more support than the Gretz instructions call out. I have also worked on mounting a Red Tip VHF antenna under the wing. This is slightly abnormal from most RV10s but this is being done because we plan on using a MotoPod for hauling larger items that won’t commonly fit in the cabin.
Section – 22 Finishing the Flaps
Section – 22 Finishing the Flaps
Section – 20, Flap Gap Fairing
Installed left and right flap gap fairings after dimpling and priming.
Section – 22 Starting the Flaps
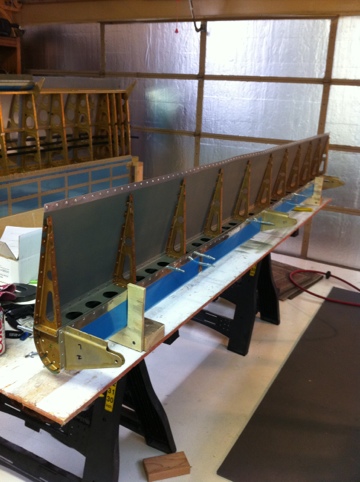
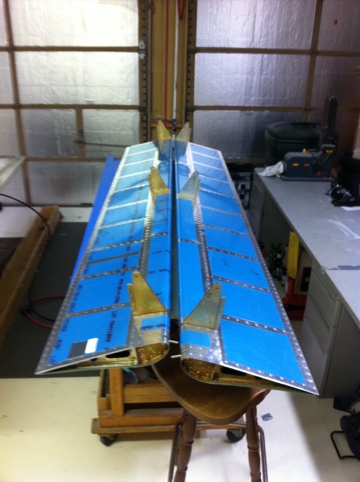
Earlier in the week I started to build up the flaps. The process is very similar to the ailerons. I was able to cleo all the flap parts together and final drill them. I disassembled the flaps and started machine countersunk the trailing edge AEX wedges. I will pick up work on the flaps in a couple of days.
Section – 17 & 18
My parents, sister and nephews came to our house for the weekend and the lady’s went shopping and had their nails done, so my father and I worked on the wings.
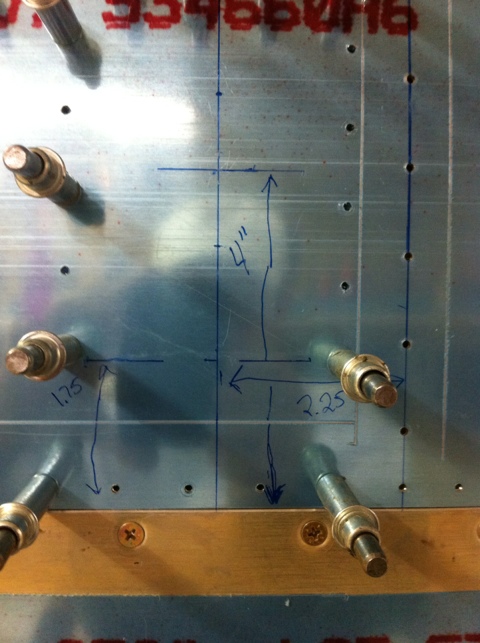
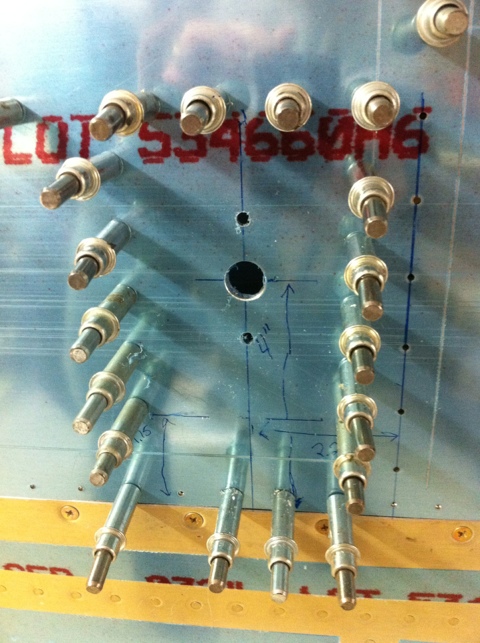
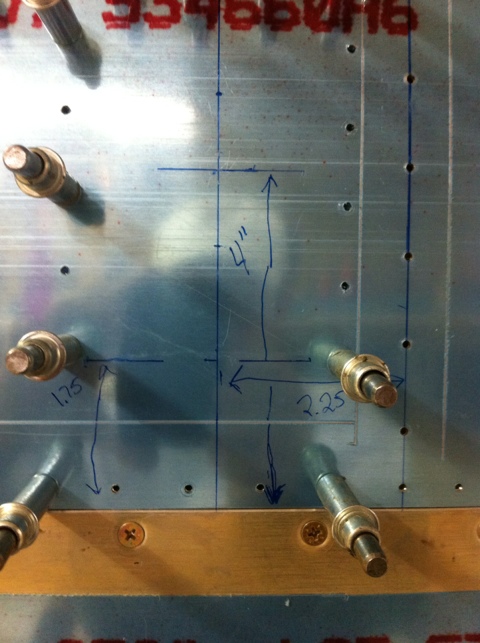
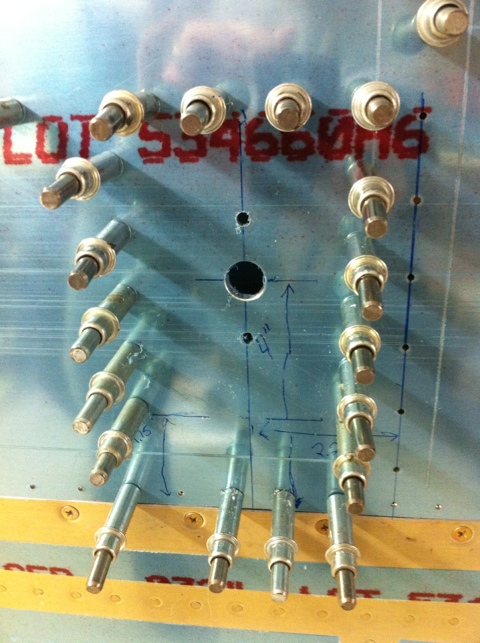
Earlier in the week I added the AFS AOA ports to the left wing outboard leading edge. The left leading edge can now be attached to the left spar.
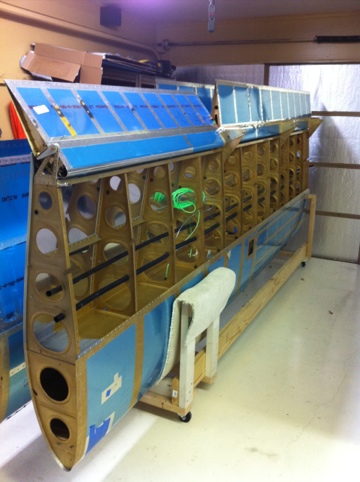
My dad and I attached the left leading edge and left fuel tank to the left spar. We then finished riveting the right outboard leading edge top skin.
 RV10 Building Adventure