Category Archives: Section 46, Engine Mount and Landing Gear

Engine Section 46, Engine Mount and Landing Gear

Engine Cold Air Sump Modification to Engine Frame Mount

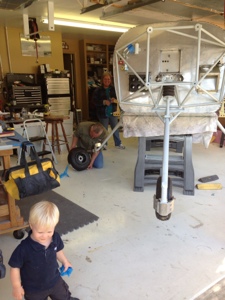
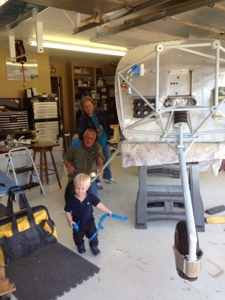
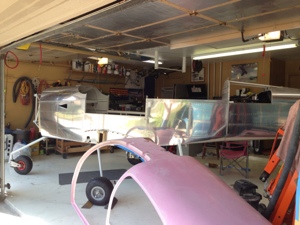
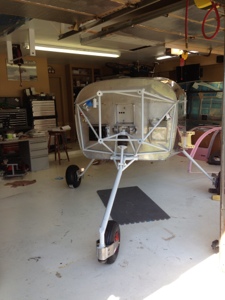
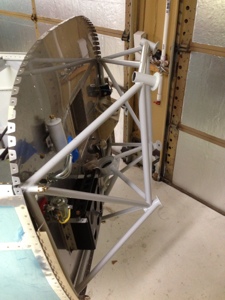
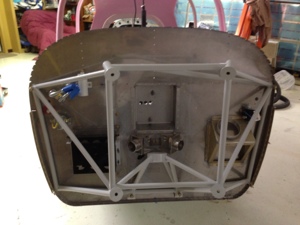
Feb 8th 2014. 3 hours

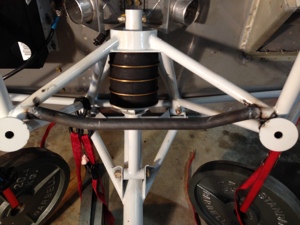
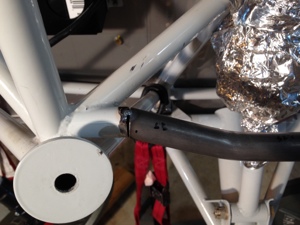
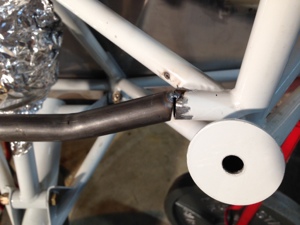
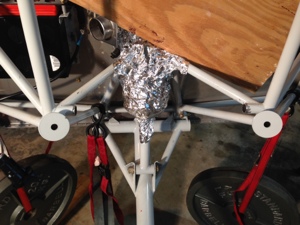
Wally Wostal (my mothers cousin) came over to weld in the modified lower cross member for the engine mount. He mad a quick job of it and was done in about 1 hour just for the welding portion. It turned out great and I later painted it with epoxy primer.

20140310-110501.jpg

20140310-110519.jpg

20140310-110535.jpg

20140310-110552.jpg

20140310-110612.jpg

Section 46, Engine Mount and Landing Gear

Landing Gear mount

March 16th, 2 hours. I decided to set the fuselage on the gear since i would need to be moving the “airplane” in the near future. More on that story later on. My parents had come into town so I had extra help and asked my father to lend a helping hand. This process went very smoothly and honestly had I known it was that easy I would have waited a bit longer. Being on the gear makes it a little more difficult to work on especially for a short guy like myself, 5’4″ !!

20130417-082041.jpg

20130417-082111.jpg

20130417-082133.jpg

20130417-082149.jpg

20130417-082208.jpg

20130417-082221.jpg

Finish Kit Section 46, Engine Mount and Landing Gear

Section 46, Engine Mount

Feb 2nd, 2013 I reinstalled the engine mount for the last time (4 hours). I read Section 46 for installing the engine and I will have to say the instructions are horrible. I drilled and mounted the engine mount using one hole. I then continued to the next hole only to find the hole alignment was off by half a hole. After further investigation all the holes were off by a lot. The plans tell you to align the engine mount to the other holes and use the engine mount as a drill jig to finish enlarging the original prepunched holes in the firewall. Well had I done that the engine would likely be mounted half a hole off to the right side. I used the engine mount as a drill jig and continued to drill the holes one by one with no other bolts installed in any of the engine mounting locations to the proper 3/8″ size. After doing this I held the engine mount in place and as expected the engine mount holes were off. I decided (wished I would had done this prior) to look on the chat groups to find the mounting engine discussion. From what I gathered, the engine mont behaved as most all others did and that folks essential worked with the bottom 4 holes first. The two bottom most inner holes align the best so the suggestion was to bolt one of these holes and then re drill the adjacent hole. This allowed the engine mount to be center. Working my way to the lower side holes I was able to re drill those holes with only a slight enlarging of the firewall side of the hole with the aft side of the firewall hole still perfectly in shape. After finishing this I moved to the top engine mount holes. These put up a little mor fight but I was able to lightly persuaded them into place and then re-drilled them as needed. All bolts and hardware installed and torqued to specs.

20130208-083850.jpg

20130208-083859.jpg