Construction of the RV10 Wings
Category Archives: Wings
Section – 18 Fuel Tank Assembly
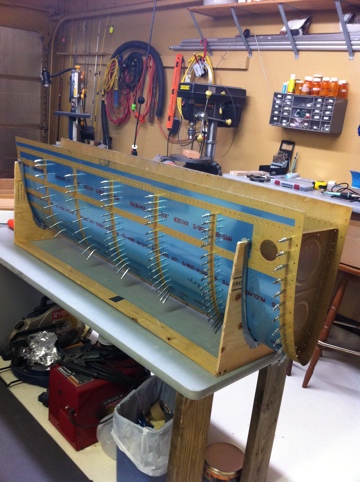
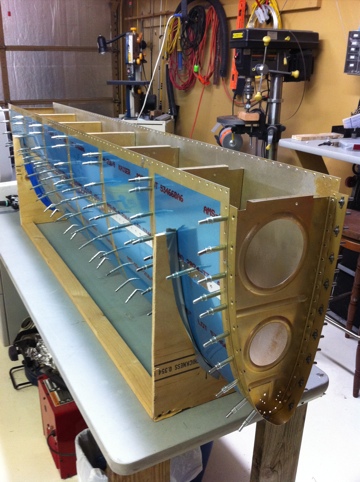
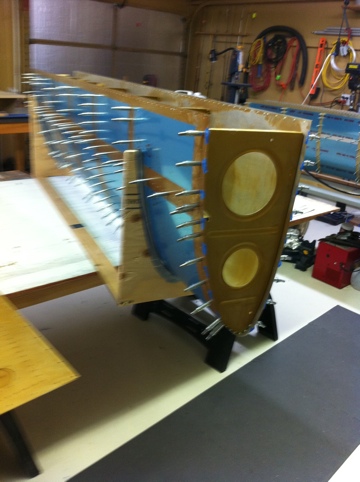
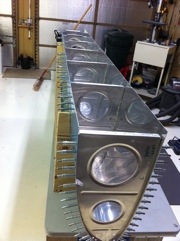
While my wife and I became new happy parents, my dad spent time in the garage working Section 18. He assembled both left and right fuel tanks to the point of being 75% complete. I am now reassembling the tanks to finish them. Here is a picture of the left fuel tank. More time will be needed to better fit the ribs into the skin prior to ProSeal and riviting.
Section 19 – Stall Warning Switch
Section 17 – 95% complete
Section 17 – Assemble L/R leading edge
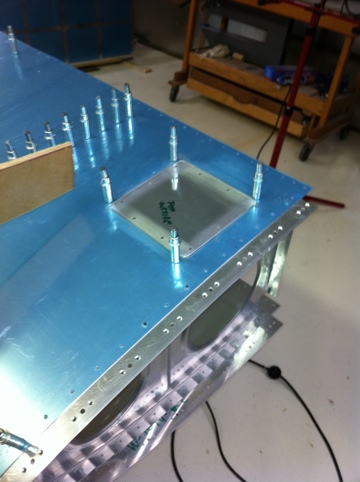
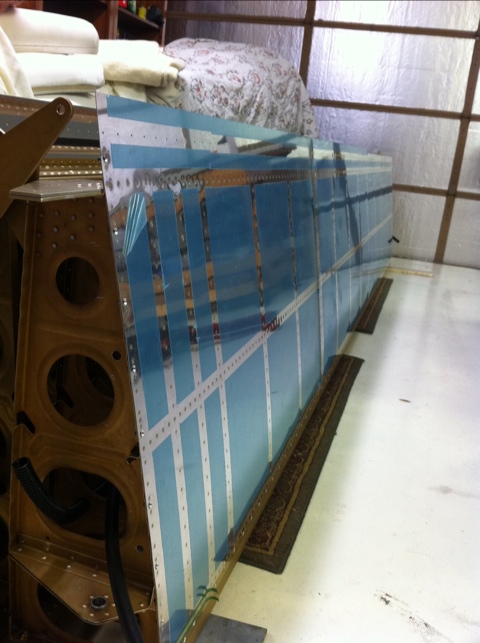
After prepping the leading edges for Alumaprep and Alodine it’s now time to start assembling them again. Also worked Section 19, dimple and rivet access hole plate and cover to left leading edge. I started to rivet some of the aft holes top and bottom and will continue with finishing it hopefully tomorrow.
Section 18 – Fuel Tank
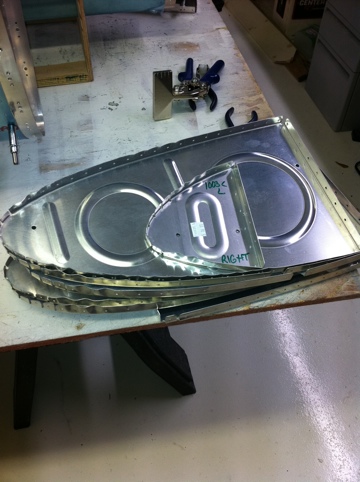
After touching on Section 17 & 19 I wanted more parts to Alodine and Chromate conversion coat instead of the usual few pieces. I figure once you get setup for the process a couple more pieces wouldn’t hurt! So I started to flute the tank ribs. Next will be to cut various parts from stock that make up some of the internal parts used in the tanks.
Section 19, Stall Warning Switch
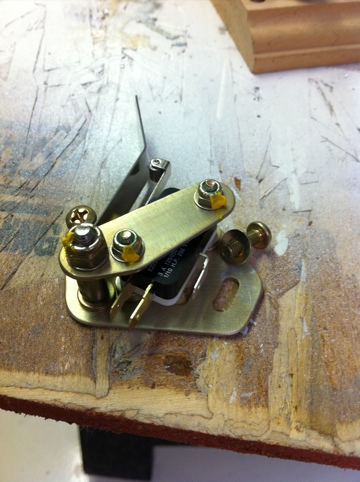
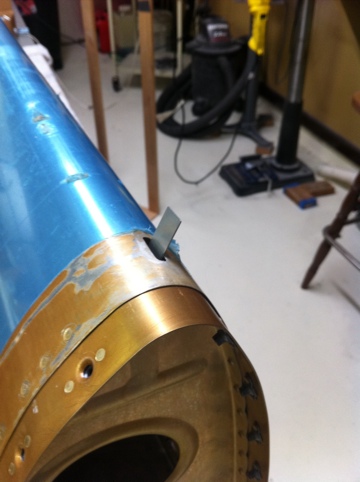
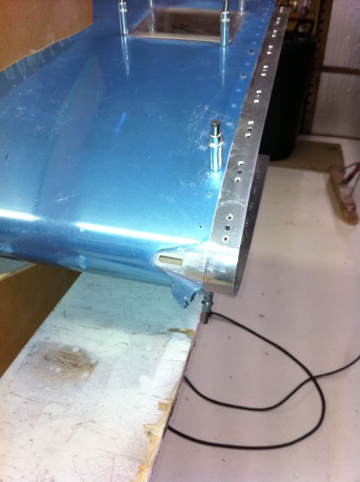
Section 19 installs the stall warning access panel, switch and wires. I skipped to this section because Section 17 provides open access to the exact area on the left wing to install the stall warning system. I cut the access hole to be able to reach the stall switch and notched the leading edge of the wing for the stall warning tab that will be directly in the wind flow stream or lack of wind stream. I will complete more of Section 19 later in the build.
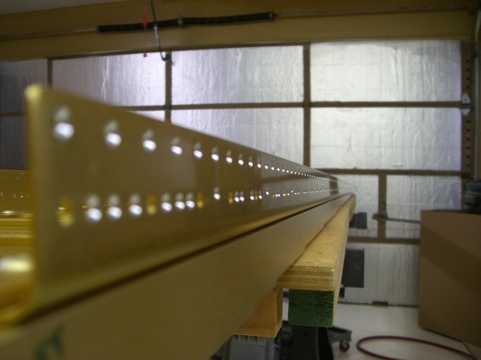
Left Main Spar
Section 17 – Flute, cleco
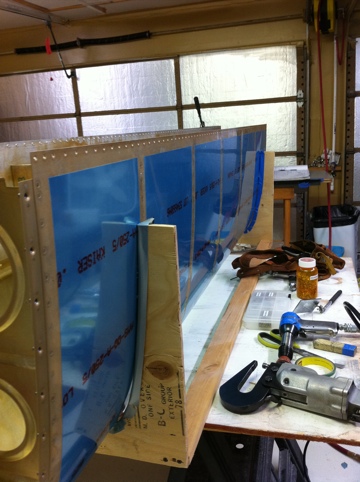
Started Section 17, cut the J stiffeners and flute the ribs. The ribs are extremely tight and not exactly lining up with the skin holes so I am taking it back apart to flute again.
8/21/2011
Continued working Section 17, but stopped short of disassembling everything to dimple and prime. I jumped over to Section 19 to install the access door to the stall warning device since it’s much easier to work this step prior to attaching the leading edge to the main spar. See Section 19 post for more info and pictures.

 RV10 Building Adventure