Building the Fuselage
Category Archives: Fuselage
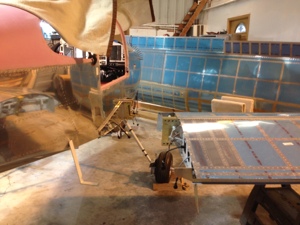
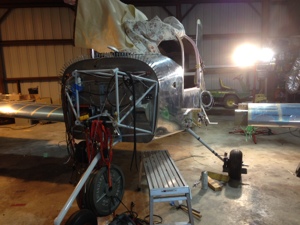
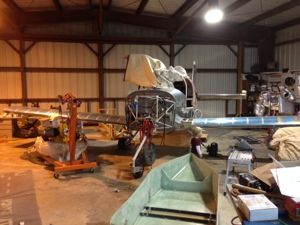
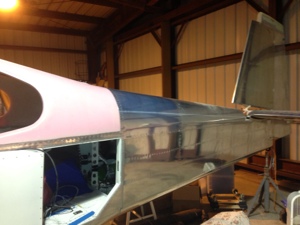
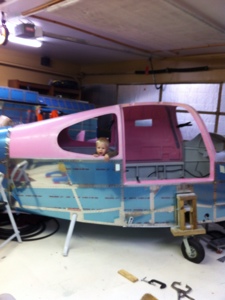
Wings First Fit
March 10, 2014 – 10:55
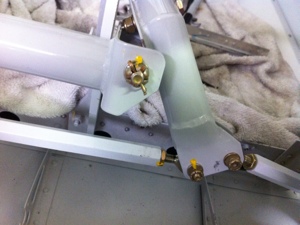
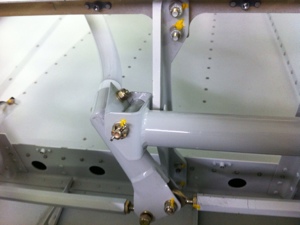
Jan 11th, 2014. 10 hours
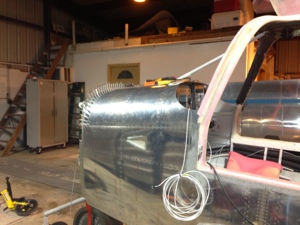
Wings attached to fuselage using drift pins.
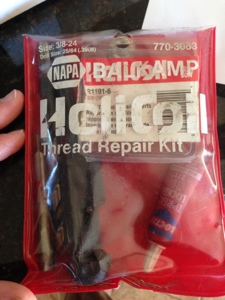
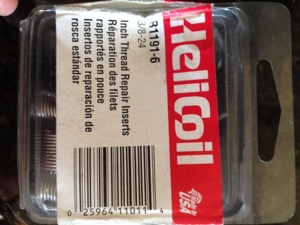
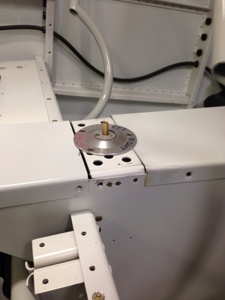
Heli coils placed in nose gear wheel brace. Added longer bolts for better usage with tow bar.
Hard points attached for MotoPod. Pos trimming accomplished to allow pod to contour bottom of fuselage.
Wing Root Panels
December 13, 2013 – 21:07
Nov 30th, 2013 3 hours.
My father worked on the Upper and Lower Wing Root Fairings by priming and the riveting the F-1099 stiffeners onto them. Simple task and he learned a new riveting method, back (flush) riveting.

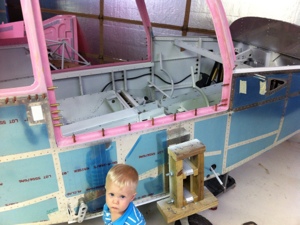
Top Tailcone Skin, Upper FWD Fuselage Skin Attached, Tire Tube change
December 13, 2013 – 20:41
6 Hours on Nov 29th,
My folks came into town for Thanksgiving. So my dad and I decided to final rivet the F-1074 Top Tailcone Skin, the upper FWD Fuselage Skin and sub assembly that holds the entire panel and avionics into place. The install went easy as e added firewall sealant and all associated rivets except for the top skin rivets where the cowl will attach later. .
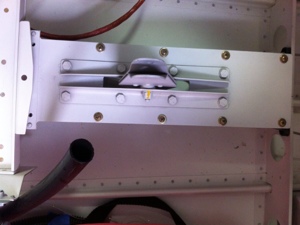
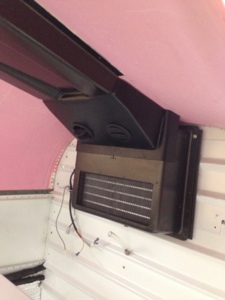
Overhead cabin transitions from Evaporator
April 15, 2013 – 18:50
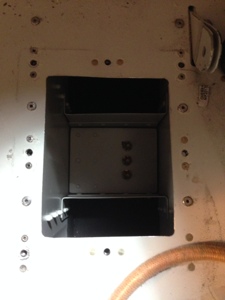
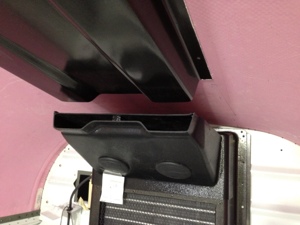
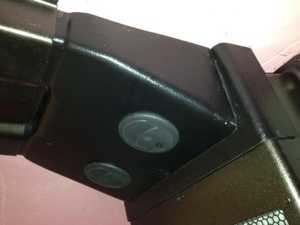
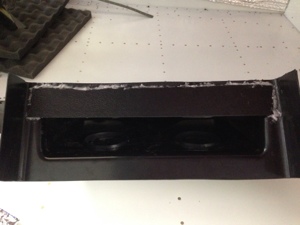
March 16th, 4 hours. I received back the molded transition piece from John at Flightline AC that was produced from the transition piece I made. Overall the piece looks fantastic but we both knew the piece would need trimming to properly fit since they made the transition piece based upon little to no extra information. In one of the pictures you can see how the original intent was to be, however based upon this installation and many other likely to follow for others the transition piece will need to be modified a bit more to be mounted much higher. I trimmed off the top portion of the piece that wraps around the evaporator. I then lowered the inside backing wall that helps seal the evaporator face to the transition since I had to raise the entire tranission up higher. The tranistion now mounts up to the overhed, evaporator and cabin top very nicely. I still need to locate a mounting plate for the front mounting hole already in the evaporator and place a rubber or foam gasket material on the surface that require to be sealed. I think John will revise his mold slightly to accomidate the angle differences but overall the tranisiton piece is very near it final shape.
John placed to vents in the transition piece to help throttle the air flow plus allow the cold air to be more quickly recirculated thru the evaporator to help cool down the cabin quicker and achive an overall lower temperature.
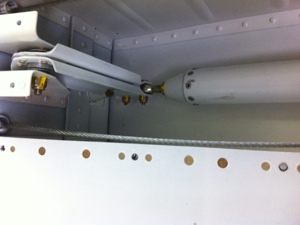
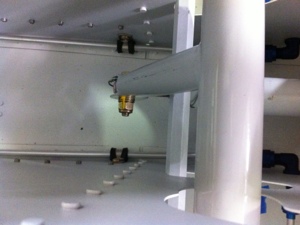
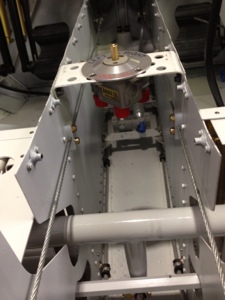
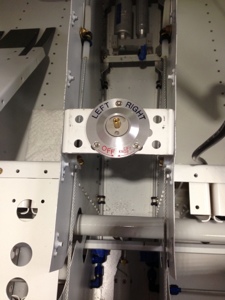
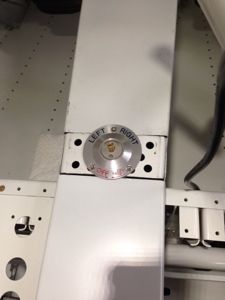
Section 37, Fuel System – Andair Fuel Valve
December 28, 2012 – 20:30
December 28, Sectioned the tunnel cover into 3 different section. First section is forward of the brake pedals, second section was from aft brake pedal system to where the fuel valve is mounted. The third section is aft the fuel valve to the end of the original tunnel cover. This allows easier access to all the tunnel sections and allowed the fuel selector valve to be mounted much higher in the tunnel to allow a better fit with the carbon fiber center armrest. Spent 4 hours
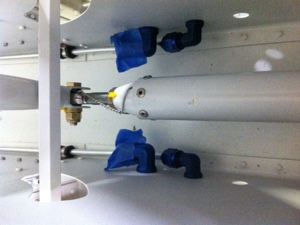
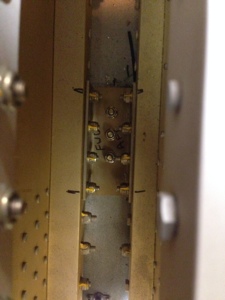
Section 38, Rudder Pedal after market Brake Lines
December 28, 2012 – 20:19
I purchased the Bonaco brake lines for the after market Control Approach system. The Bonaco lines fit well and function with the movement of the pedals well. Spent 1 hour fitting them on December 15th.
QTY 2: -3 Hose assy w/clear at 37
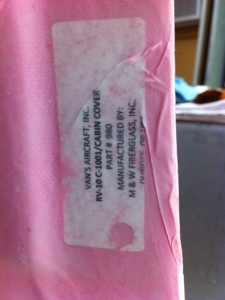
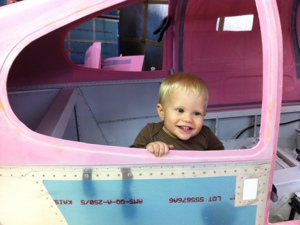
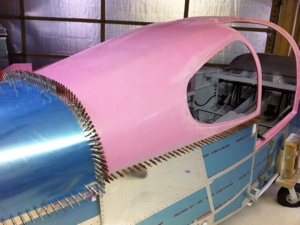
Section 43, Cabin Cover
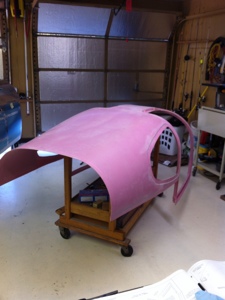
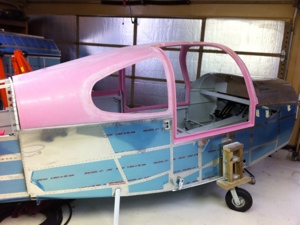
November 9, 2012 – 23:07
I started working with the cabin cover. The first day i worked approximately 6 hours rough cutting the cabin cover after I traced the scribe lines. The second day I took the canopy outside to finish rough cutting the door openings. I then placed the cabin cover on the fuselage and checked the fit. With a little more trimming and sanding with a belt sander I was able to fairly well fit the cabin to the fuselage. This took about 3 hours. I then drilled the #30 holes into the cabin top thru the F-1074 Tailcone Forward Top Skin and clecoed as i went down the sides. I then moved from aft to the front of the fuselage drilling each hole in the side skin and then into the cabin cover. After that I started working on the door entries and secured them to the fuselage and drilled the appropriate sized holes as called out in the plans on page 43-5 and 43-6. This took bout 3 hours. I then placed the WD-1043 Center Cabin Brace into position for mounting it between the F-1071 Fwd Top Skin and the cabin cover. Drilled the #12 holes into the cabin top and then into the brace located under the F-1071. This took about 30 minutes. I experienced my first tool failure of this entire build when my small angle drill attachment failed. Total time for this write up is 12.5 hours.
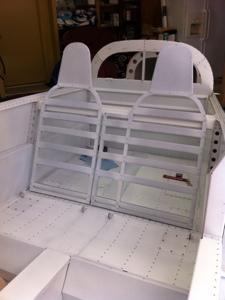
Section 42, Rear Seat Backs
November 9, 2012 – 22:39
Section 42 has you construct the rear seat back from various pieces included in the fuselage kit. We decided to use the seat back designed by Cleaveland Aircraft Tool. This is a 60/40 seat with a head rest similiar to the front seats. These frames were primed and then had the bottom hinge attached. This took about 3 hours on Oct 27, 2012.
Section 40, Flap System Install
November 9, 2012 – 22:24
Section 40 went rather quickly. Installed the flap torque tubes and the F1030 mounting blocks after assembling the WD1013C to the WD1013B and WD1013A. Installed the flap motor but did not wire it.
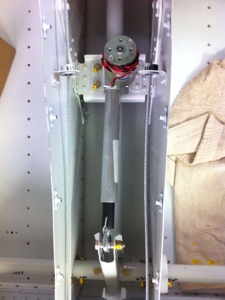
Section 39, Control System
November 9, 2012 – 22:04
Fabricated all the pushrods as described in the plans and installed them per the plans. Prior to installing the parts they where primed and painted. Spent 8 hours, October 6, 2012.