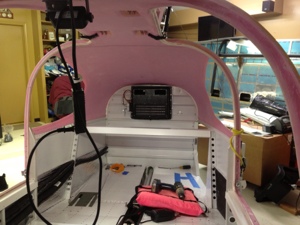
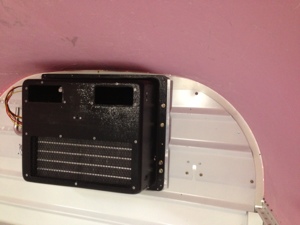
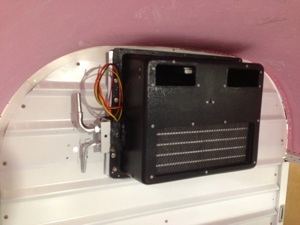
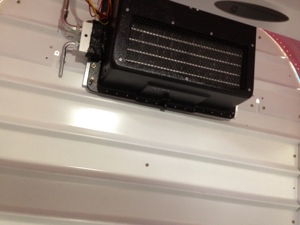
Feb 10, 2013, (2.5 hours) Worked on figuring out how to install the Flighline AC Evaporator. I essentially centered the evaporator up high on the baggage bulkhead wall. I then used some of the predrilled holes on the left side of the evaporator and matched drilled those into the bulkhead wall. On the left side there where no pre-drilled holes so added my own. I added nut plates on the back side of the baggage walls. I still need to create a small around the low and high pressure lines of the evaporator panel that can be removed and add a port thru the baggage wall out to the condensor cooling air outlet.
Category Archives: Flight Line Air Conditioning
Flight Line Air Conditioning Systems Flight Line Air Conditioning SystemsFlightline AC System
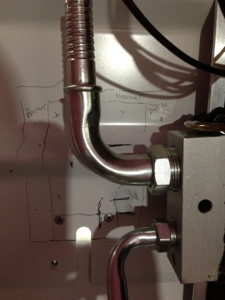
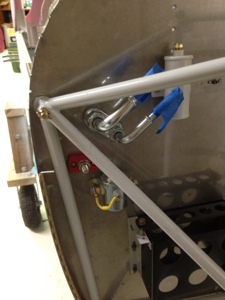
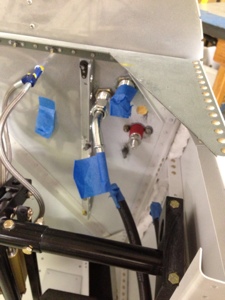
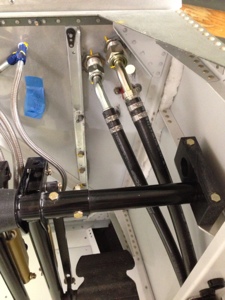
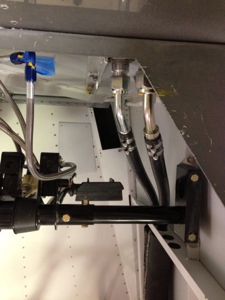
Feb 2-3, 2013 (8 hours) I worked with installing the Flightline AC system firewall pass thru. I finally decided on the best location for the pass thru that was different from most all other RV10 installations based upon my location of the firewall battery, master contact relay, and future battery pass thru. I drilled the thru holes and then applied Bio-therm and attached the pass thru to firewall. I then installed the battery pas thru located very near the same locations since I had all the required tools in hand. I then installed the two different size hose on the aft size of the firewall. I once again used a different configuration than most other installations because of the pass thru locations. I used two 45* hose attachments on the aft side and two 90* hose attachments forward of the firewall. I installed the crimp clamp on the aft side of the firewall and re-situated the hose that run aft to the AC unit.
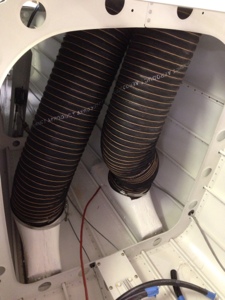
I received the evaporator core that will be mounted on the inside of the baggage bulkhead. This “again” is not done as others have done before since the idea is to help move the weight more forward and also to place the intake of the evaporator directly into the “conditioned air” environment. There had been reports of other installs that were not able to keep the system tightly sealed and thus caused poor performance of the AC system. This different install will certainly create new install challenges but I think overall this will work well. I will need to trim the Aerosport overhead so the evaporator will slide up into it for better alignment. A shroud duct will need to be made to cover and join together the area. Further updates to come.
Flight Line Air Conditioning Condenser Fit/Temp Install
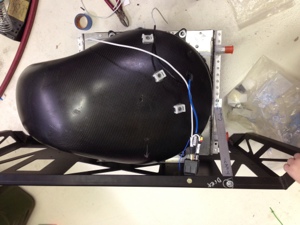
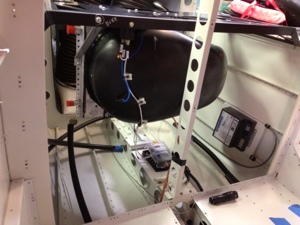
This weekend (Jan 26, 2013) I decided to work on the Flight Line Air Conditioning Condenser and associated wiring. I spent several hours attaching the condenser to the mounting tray (only took a couple of minutes) and then spent most my time on the electrical connection from the condenser fan to the Relay and then down to the power source. I epoxied some wire attach point to the carbon fiber plenum to help with wire management. I mounted the relay to the tray since the wires from the power wire from the condenser fan can connect directly to the rely without being lengthened. I then routed the ground wire from the condenser and power wire from the relay to the power block below both of them.
I worked on routing the control wire from the Flight Line AC controller thru the fuselage from Front to aft. I have yet to terminate any of these wires since placement of the evaporator is not known yet. I am still awaiting my shipment of the evaporator and hope to receive it this week so I can start work installing it.
I spent many hours trying to figure out the proper location for the AC low and high pressure hose thru the firewall. This is frustrating since every location seems to have interference since I mounted a firewall battery and contractor up there. To add frustration, I don’t have the proper oriented hose fitting I would like to use for the install. The bag sent includes a bunch of angled fitting but I have no technical data to substantiate where they go. I will contact Flight Line and see what I can figure out.
Total hours spent 10 hours.
 RV10 Building Adventure