Category Archives: Section 45, Cabin Doors and Transparencies

Finish Kit Section 45, Cabin Doors and Transparencies

Section 45, Door Locking Mechanism

December 2nd, I started working on the exterior door key lock for for the IFlyRv10 flush door handles. I did not buy by the manufacture flush door key set so I went to the local aviation store and picked up two identically keyed door lock sets to retro fit into the doors. With a little modifying I was able to make the locks function as required to lock the handle from being opened. I then epoxied the right door flush handle and center door gear box spacers into place. 6 hours worked.20121203-074423.jpg

20121203-074109.jpg

Finish Kit Section 45, Cabin Doors and Transparencies

Section 45, Cabin Doors and Transparencies

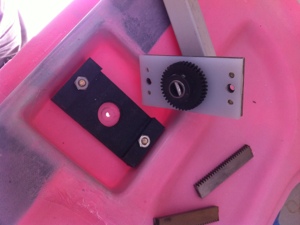
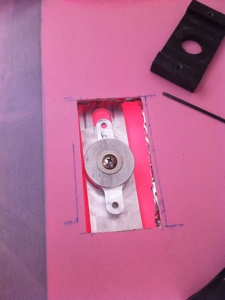
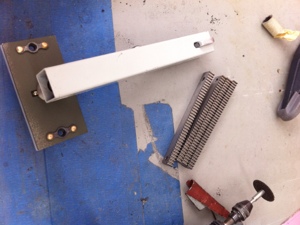
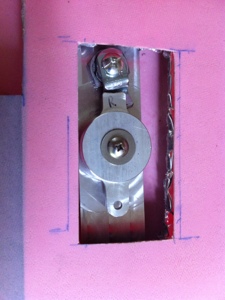
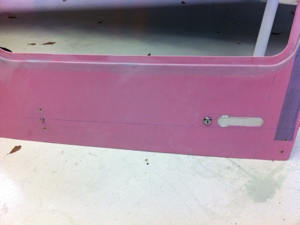
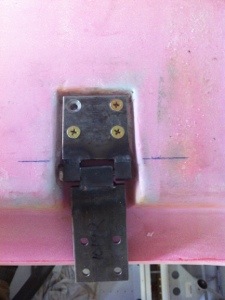
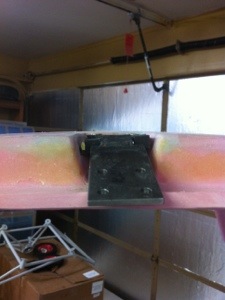
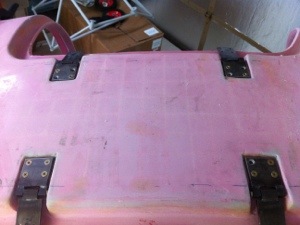
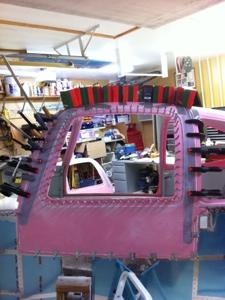
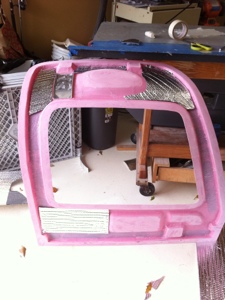
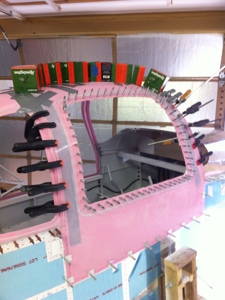
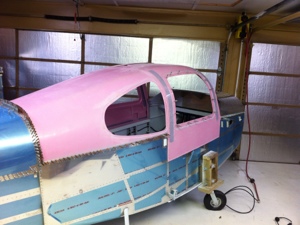
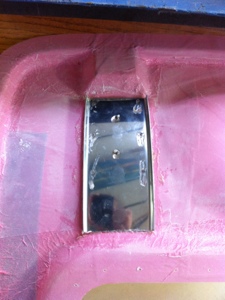
Dec 1st, 2012, I started the left and right exterior flush mount handle, interior door handle mechanism, door locks, and PlaneAround center door latch. It took a while to verify the door cutouts and to understand exactly what I was supposed to be doing. Essentially I was combining three different products at one time that need to function as one unit without any larger amount of friction. With various measurements, marks, and cuts the fitting began with fairly good results. I first used the metal template for the IFlyRV10 Flush mount door handles. The metal template was perfect for making a very nice cutout in the exterior door panel. I then moved to Vans plans of making the internal door handle and locking mechanism. The flush door handle kit requires the interior vans handle mechanism to be modified by shortening the main shaft and inner shaft to accommodate the push button that is located in the center of the two shafts but exposed on the exterior of the door. I cut the gear racks as required by the plans and fit those into the door handle interior door pocket. I then moved to fitting the center door latch by PlaneAround. Made the cut out and fitted the gear box. I was able to get the left and right doors to the same finished state but wasn’t able to epoxy in the items needing to be affixed to the door yet. I called it a day after 12 hours.

20121203-073334.jpg

20121203-073343.jpg

20121203-073354.jpg

Finish Kit Section 45, Cabin Doors and Transparencies

Section 45, Cabin Doors and Transparencies

I decided to recess the door hinge locations to lower the top of the hinges to be flush with the surrounding cabin top plus this was a chance to level the surface where the hinges attach. I then aligned the hinges per the plans and drilled the associated holes. I also dimpled the #30 holes in the tail cone skin plus drilled all three rivet doubler pieces for backing the inside of the cabin attach point. Worked 4 hours total, between Nov 14-15.

20121115-204532.jpg

20121115-204541.jpg

20121115-204549.jpg

Finish Kit Section 45, Cabin Doors and Transparencies

Section 45, Cabin Doors and Transparencies

On Monday 12, 2012 after work I started working on the left door inner and outer shell by fooling the similar process used for the right door. I worked for 2.5 hours joining the two prices together.

20121113-081746.jpg

Finish Kit Section 45, Cabin Doors and Transparencies

Section 45, Cabin Doors and Transparencies

Started working with the right side door halves by wetting out the Parabeam, a three dimensional weave. I brushed a thin coat of epoxy on the bag side of the inner and outer door shells where the Parabeam would be placed. I then placed the Parabeam in the proper locations and made sure the entire section of Parabeam was pushed into place. I then started working the flat sections that would be joined together when the door halves are finally positioned together using clecos. I used epoxy and cotton flox instead of cab-o-seal thinking that the cotton flox will keep the epoxy from running plus add some structural strength to the doors. I hope I did not make an incorrect assumption in that this should help strengthen the door. I spread a constant 1/16 think layer of the mixture on all the matting surfaces. The right door was hung on the cabin cover with clecos, duck tape, clamps, and some weights to mold to the cabin top on after sanding the matting surfaces earlier that morning. Total time was 6 hours on Sunday Nov 11th, 2012.

20121113-080435.jpg

20121113-080444.jpg

Finish Kit Section 45, Cabin Doors and Transparencies

Section 45, Cabin Doors and Transparencies

Since the cabin top was still nicely attached to the fuselage I decided to divert from Section 43 and jump to Section 45 to start work on the doors. I started out by trimming the inner and outer door halves. I sort of messed up and trimmed the outside shell to the scribe line instead of leaving it 3/4″ wider than the scribe line. I made clips to hold it all together during the joining process so I am not worried about it going to gather incorrectly. I did locate the index holes and drilled them #40 on both door halves. Once the door halves were trimmed I placed them onto the cabin top using the cleco holes to hold the door halves firmly to the fuselage and cabin top. I finished drilling the holes around the window opening at a spacing of 1.5 inches. I then removed the doors and separated the halves so I could fit the Gas Strut Attach Doublers to each inner door half. I mixed epoxy and cotton flox and applied it as described in the plans. Waiting for the epoxy to dry now. Worked 8 hours on November 10, 2012.

20121110-213242.jpg

20121110-213254.jpg

20121110-213308.jpg

20121110-213315.jpg

20121110-213322.jpg